How to Export Office 365 Calendar to Excel?
Jackson Strong | June 9th, 2025 | Office 365
Need an easier way to export Office 365 calendar to Excel? You’ve landed on the right page.
Managing, analyzing, and sharing Office 365 calendar events in Excel is essential, but even more important is finding the right method to do it easily and accurately. This guide is here to help you with a complete step-by-step solution.
Instead of manually copying dates or checking each appointment, exporting your calendar lets you quickly review, share, or archive your schedule. This is especially useful for professionals tracking project timelines, teams coordinating meetings, or anyone who wants a clear snapshot of their calendar.
In this guide, you’ll learn how to export your Office 365 calendar to Excel step by step, see what kind of data you can extract, troubleshoot common issues, and understand when it makes sense to use advanced tools.
Why Export Office 365 Calendar to Excel?
While the Office 365 (Microsoft 365) calendar is already a powerful scheduling tool, saving your data to Excel unlocks more possibilities. Here’s why exporting is helpful:
Better Event Management: Share your calendar in Excel format with your team for improved collaboration.
Data Backup: Keep a safe copy of your appointments and meetings on your computer.
Detailed Analysis: Use Excel to filter events, calculate meeting durations, or create custom reports.
Flexible Integration: Import calendar data into project management tools or dashboards.
Manual Way to Convert Office 365 Calendar Events to Excel CSV
For those who prefer using the Outlook desktop application, here’s how you can export Office 365 calendar to Excel;
- Open Microsoft Outlook on your computer.
- Next, configure the Office 365 account in the application.
- Navigate to the Calendar tab from the bottom-left menu.
- Select Open & Export, then select Import/Export.
- Choose Export to a file and click Next.
- Select CSV as the file type and click Next.
- Select your calendar folder and click Next.
- Choose the destination and click Finish.
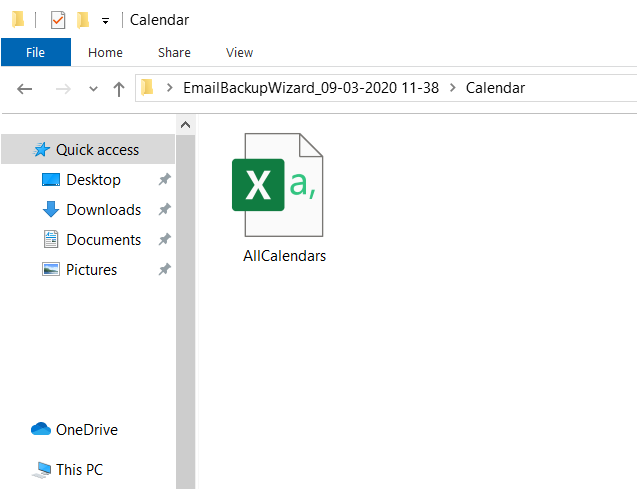
Once the process is complete, navigate to the saved location and open the exported calendar data in Excel.
Manual Method Limitations
Keep in mind:
- Large mailboxes can take time to export.
- Recurring events might appear as individual entries or not export fully.
- Formatting and attachments are excluded.
- You must have Outlook installed on your PC.
What If Manual Export Doesn’t Work?
If you:
- Need to export many calendars or bulk data.
- Prefer one-click export with filters and folder structure intact.
…then you may want to consider using specialized tools. But for small exports, manual export is usually enough.
How to Export Calendar from Office 365 to Excel Spreadsheet?
Didn’t satisfied with above manual method? Don’t Worry! You can use Advik Office 365 Backup Software. Using this magical wizard, you can download Office 365 calendar events to local drive. How? Because the tool allows you to save and convert multiple Office 365 calendar items to Excel sheet. Simply log in to your Office 365 account, select the calendar folder, choose CSV as the saving option, and click Convert. The software will handle the remaining steps automatically. You can also select specific folders based on your needs.
So, what are you waiting for? Click on the FREE download button and check how it works.

Steps to Export Office 365 Calendar to Excel
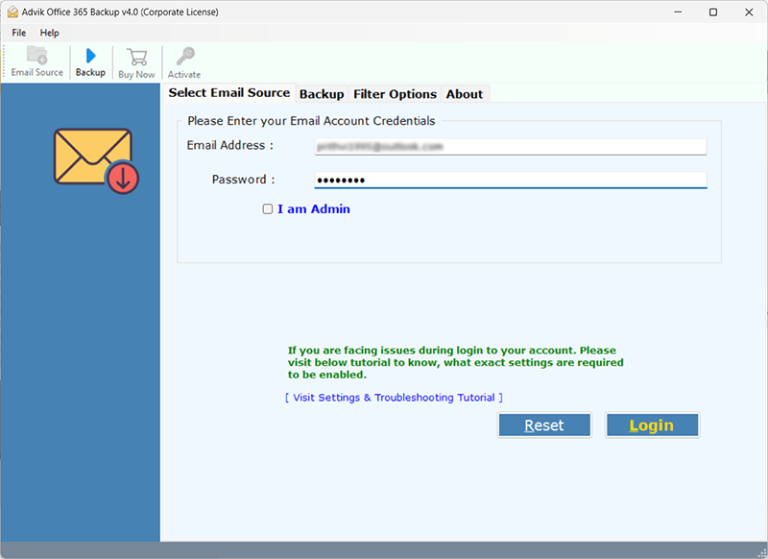
Step 1. Run the tool and sign in using your Office 365 account.
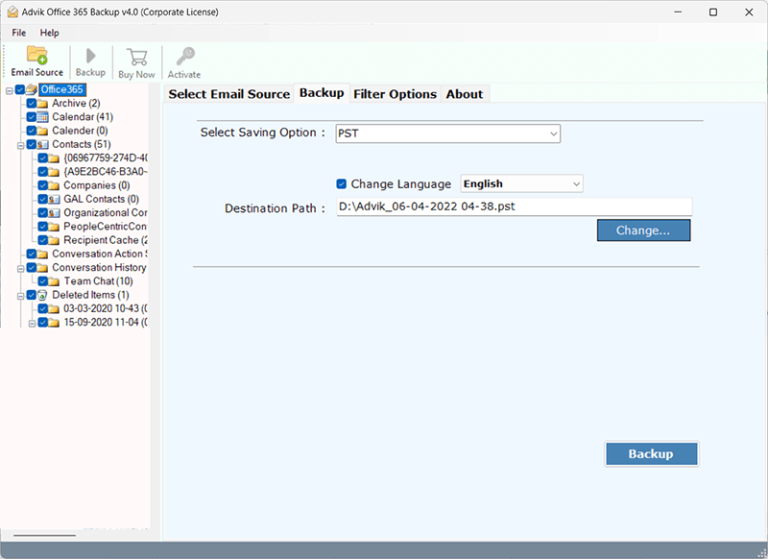
Step 2. Choose the Calendar item from the menu.
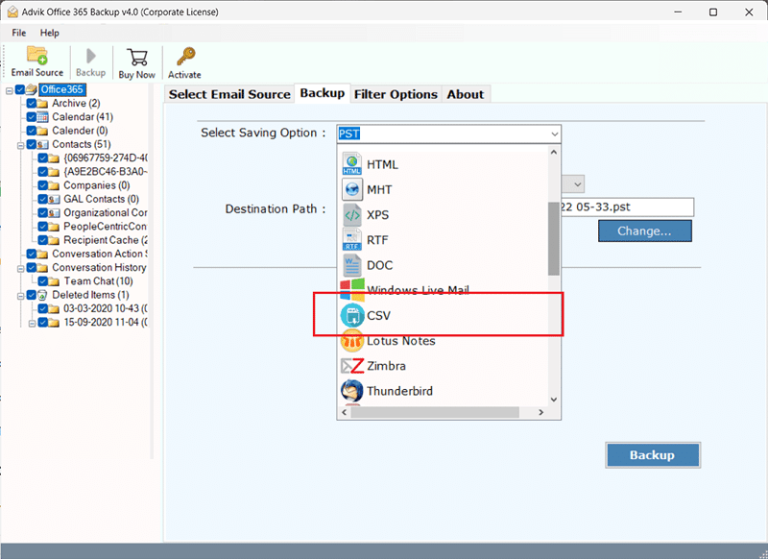
Step 3. Select CSV as a saving option from the list.
Step 4. Browse the destination & click Convert.
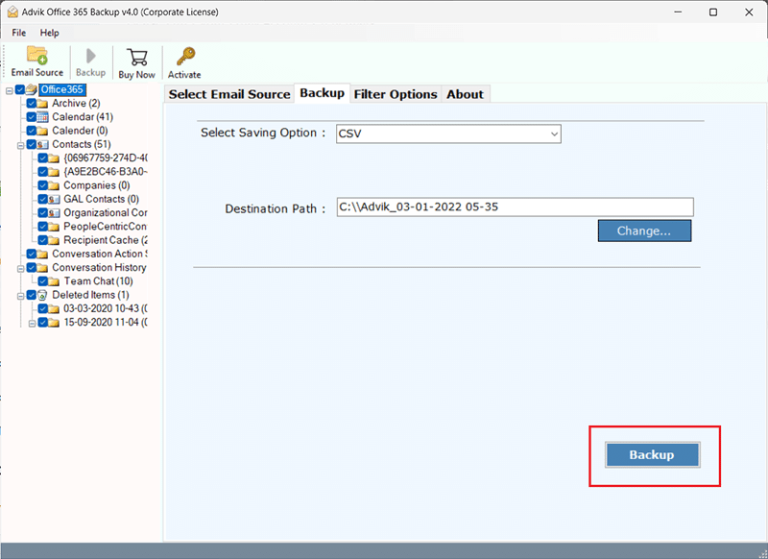
Done! The software will download and export Office 365 calendar to Excel Sheet.
Watch How to Export Calendar from Office 365 to Excel
Final Words
Exporting Office 365 calendar to Excel is usually straightforward with Outlook’s export feature.
Quick Tip:
- Use manual steps for smaller or occasional exports.
- Use tools only when you need bulk export, advanced filters, or recurring schedule backups.
If you still have questions, check Microsoft support articles or consider professional software if you frequently need large-scale exports.