How to Migrate Shared Mailbox to Office 365 – Manual & Automatic Ways
If you want to migrate shared mailbox to Office 365 without any trouble, you’ve come to the right place! In this blog, we will explain what a shared mailbox is, why moving it to Office 365 is a good idea, and show you two simple ways to do it — one manual and one automatic, using a handy tool. By the end, you will be able to move complete shared mailbox to Office 365 safely and keep all your emails intact. Let’s get started!
A shared mailbox is like a common email account that many people on your team can use together. Instead of everyone having their mailbox, a shared mailbox lets you all send and receive emails from one place. This makes teamwork easier! One thing to know is that a shared mailbox itself doesn’t need a special license, but everyone who wants to use it must have their own Office 365 license.
Now, let’s move on to understand the two available ways to migrate shared mailbox to Office 365.
Things to Do Before You Start:
- Make sure you have admin rights to access the mailbox.
- Backup data if possible, to avoid losing any emails.
- Ensure everyone who needs access has an Office 365 license.
How to Migrate Shared Mailbox to Office 365 for Free?
This method involves using the Microsoft 365 Admin Center to convert the shared mailbox into a regular mailbox.
Follow these steps carefully:
- First of all, log in to your Office 365 admin account.
- Navigate to the Microsoft 365 Admin Center and select the Exchange option.
- Next, go to Recipients >> Shared mailbox.
- Choose a shared mailbox account and click on Convert to regular mailbox.
- A confirmation pop-up will appear, click Yes to proceed.
- Now, assign a license to the Office 365 user mailbox and reset the password.
- You will see a completion message; click Close to finish the process.
Completed!! The shared mailbox is now migrated to Office 365 regular user mailbox, including all associated data.
Warning: This method is a bit technical. If you miss a step, you might lose some important emails. So, be very careful!
How to Move Shared Mailboxes to Office 365 Automatically?
Check out the Advik Office 365 Backup Tool and install it on your Windows Machine. This utility will easily migrate shared mailbox to Office 365 in no time. You just need to enter login credentials to transfer shared mailbox to Office 365 account. Even you can move as many shared mailbox accounts to Office 365 as needed. Moreover, it also maintains the folder hierarchy of the shared mailbox while transferring it to O365.
Let’s get into the steps to learn about the solution in more detail.


Steps to Migrate Shared Mailbox to Office 365
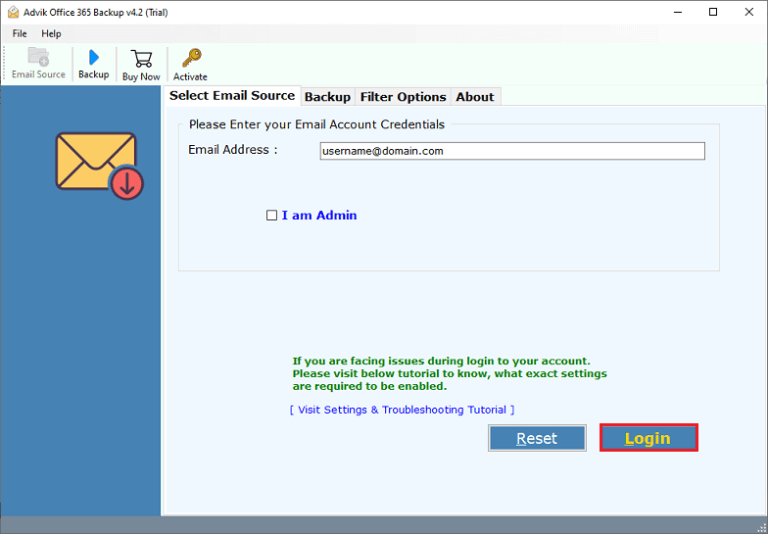
- Run the software and log in with your shared mailbox credentials.
- Next, choose the required mailbox folders to transfer.
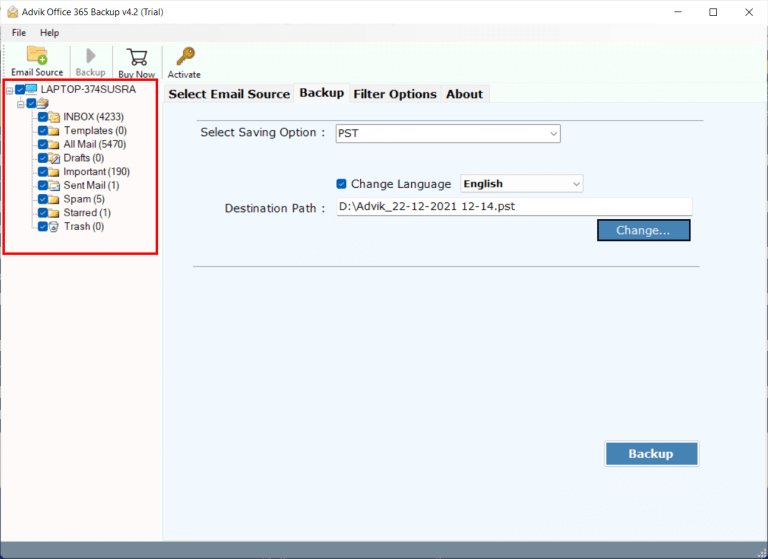
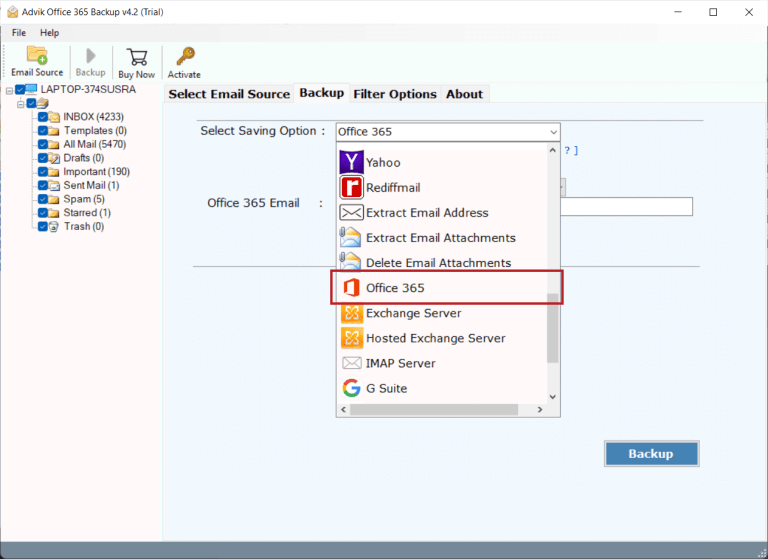
- Now, select Office 365 as a saving option from the list.
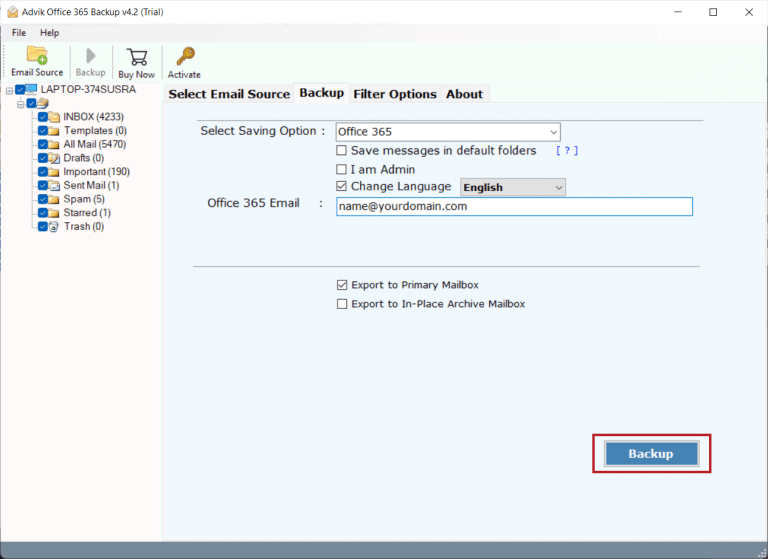
- Enter your Office 365 email address and click the Backup button.
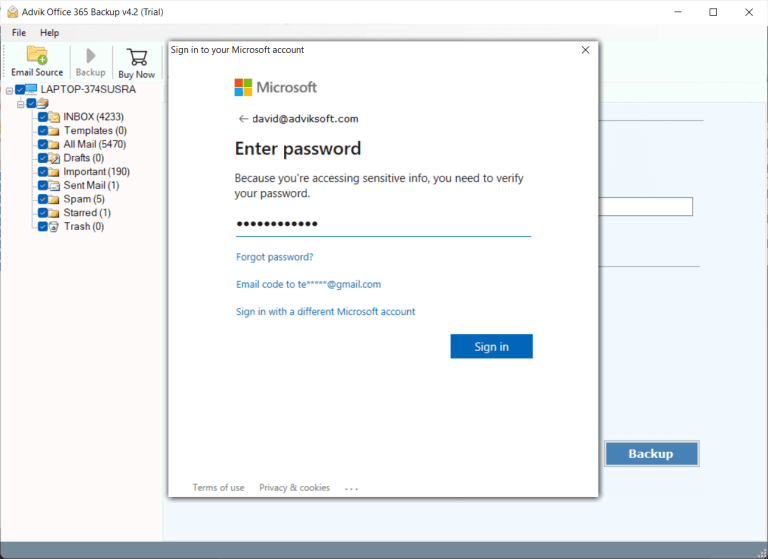
- Lastly, provide your Office 365 password click sign in, and proceed.
Done!! Now, log in to your Office 365 account to check the transferred shared mailbox data.
Watch How to Transfer Shared Mailbox to Office 365
Let’s have a look at the various benefits of using this handy tool;
Helpful Features of An Automated Software
- Preserves Folder Structure: This tool is designed to keep your shared mailbox folder structure intact. Even after the migration, you will have an exact copy of your shared mailbox data. It will help you manage your emails.
- Advanced Filters: The tool allows you to transfer all items from your Inbox, Sent, Spam, Trash, and other folders. You can also use advanced filters to export emails based on Date, Subject, Email addresses, and more.
- User-Friendly: The software has a simple, easy-to-use interface. It’s designed to help you migrate from shared mailbox to Office 365 without any technical assistance. It will save you time and effort as well. Even beginners can use it easily.
- Batch Migrate Shared Mailbox Data: Users can transfer email data from shared mailbox account in batches. The tool shows all folders and subfolders on the screen, which allows users to select the data they need.
- Keep All Email Data Intact: This tool retains all important emails and associated items like To, Cc, From, Subject, Signature, Attachments, HTML, Inline Images, Email Body, etc. It also maintains the original folder structure during the migration process.
- Transfer Emails from Multiple Accounts: An admin account might have multiple shared accounts. If you have several shared mailbox accounts and want to transfer data from all of them to Microsoft 365, our software makes it easy. Use the ‘batch mode’ option, which lets you enter all your account login details in a CSV file and upload it to the software.
Final Words
We have explored two methods to migrate shared mailbox to Office 365. While the manual approach can be complex and prone to errors, using the automated method is recommended to easily transfer shared mailbox to Office 365 regular mailbox. Additionally, you can try its free demo version to migrate up to 25 items per folder effortlessly.
Related Articles