How to Backup CenturyLink Emails to Computer?
CenturyLink is the most widely used email service. If you use it, it’s important to know how to backup your CenturyLink emails. This guide will show you two easy ways to backup CenturyLink emails to PC/computer/Hard drive, etc.
As you know, emails play a vital role in our daily work and life, and saving lots of information becomes important then. To protect yourself from data loss, you should regularly backup complete emails from CenturyLink account to your local storage. This tutorial will show how to do it effectively and efficiently.
How to Backup CenturyLink Emails to Computer Manually?
1. Launch the Outlook application on your system.
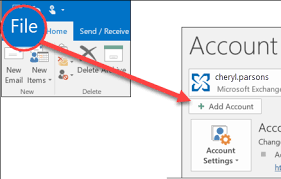
2. Go to “File” and then click on “Add Account”.
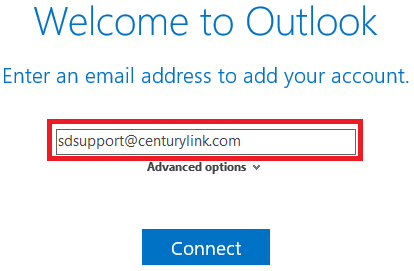
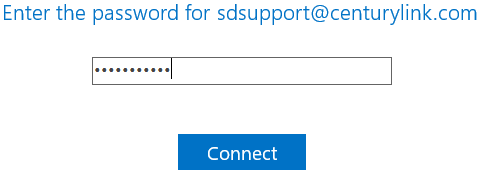
3. Enter your CenturyLink webmail email address then click “Connect”.
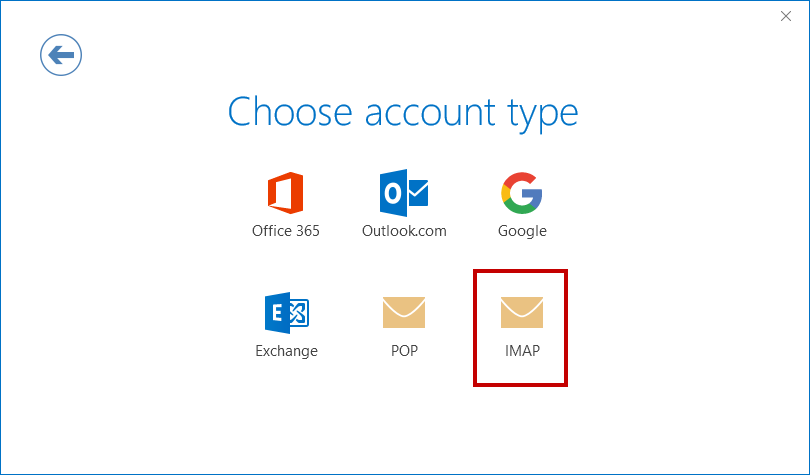
4. Choose IMAP as Account Type.
5. Now, enter IMAP settings details of the CenturyLink account.
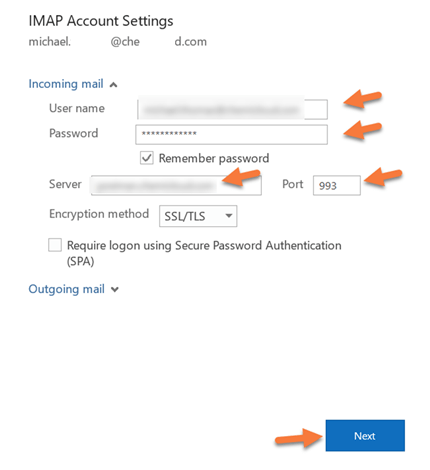
6. Enter your CenturyLink webmail email password.
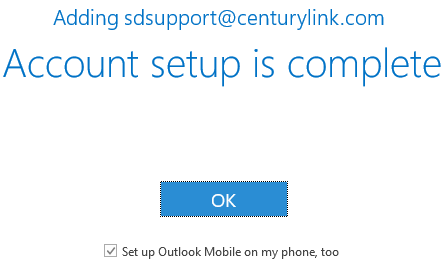
7. If everything went well, you will receive a notification “Account setup is complete”.
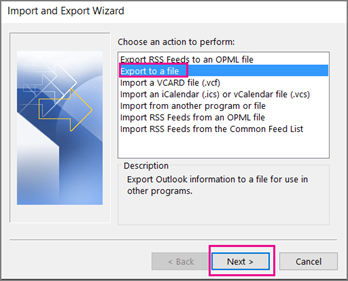
8. Now, after successful configuration, go to File >> Open & Export >> Import/Export.

9. From the drop-down menu, select the “Export to a file” option.
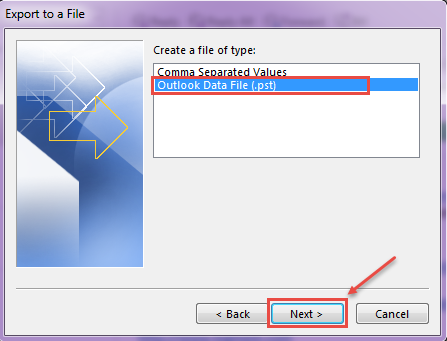
10. Choose “Outlook Data File(.pst)” and tap “Next” after this.
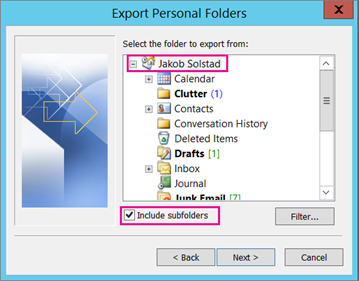
11. Select the CenturyLink mailbox folder that you want to download to the computer.
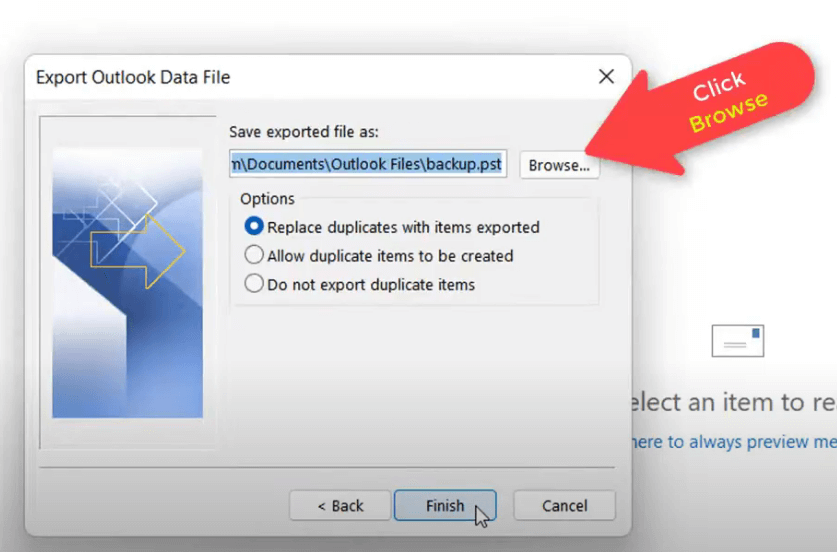
4. Now, click on browse to choose destination path and then tap on the “Finish” button to complete the process.
The process is complete! However, note that the manual method is difficult. It also does not allow downloading CenturyLink emails directly to the computer. You must first configure your CenturyLink email account with Outlook and then export emails to PST file format.
If you don’t want to deal with these issues again in the future, you should consider using a third-party tool.
How to Download Emails from CenturyLink to PC?
Advik Email Backup Tool is one of the best and most powerful solutions to backup CenturyLink emails to Computer. The software offers various saving options to save CenurtyLink emails into multiple formats. With this tool, you can download CenturyLink emails in bulk. It preserves all email attributes and folder hierarchy during the process. The tool has a very user-friendly interface, so even non-technical users can use it without any assistance.
Download this free tool to start CenturyLink email backup process for free without any errors.


Steps to Backup CenturyLink Emails With Attachments
1. Install and run this CenturyLink email backup tool on your Computer.
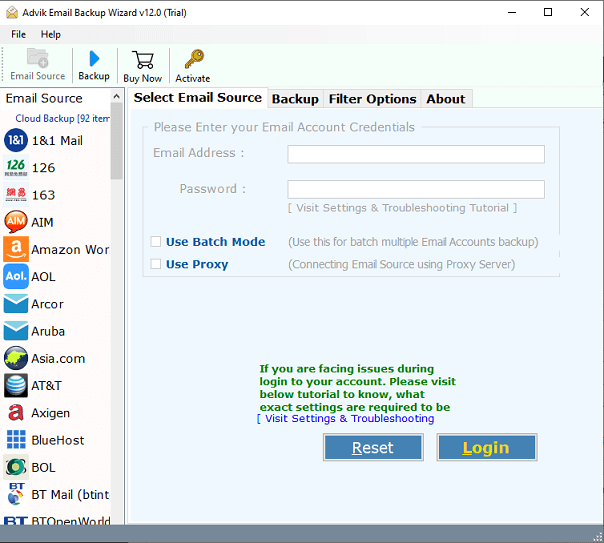
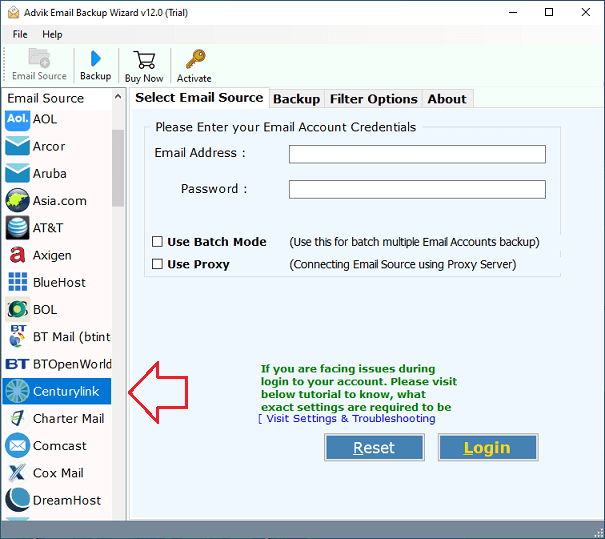
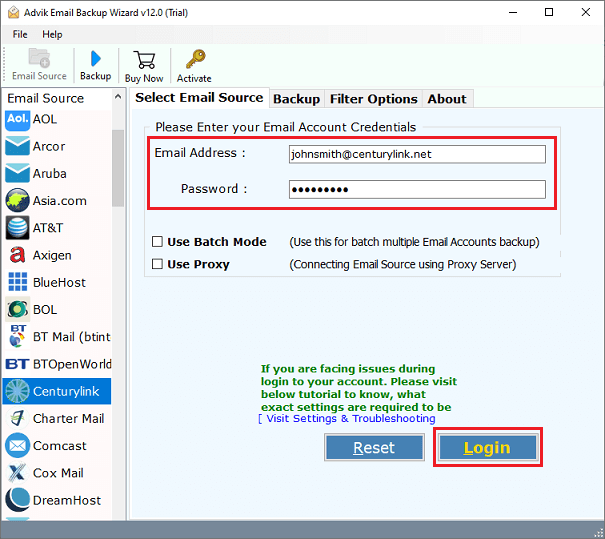
2. Now select “CenturyLink” as your email source from the various options.
3. Enter your CenturyLink email account credentials, such as email address and password and tap the “Login” button.
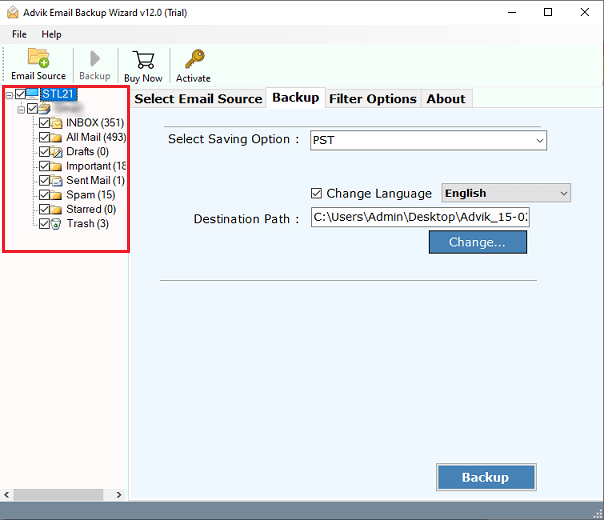
4. Select your desired email folders whose data you want to back up on your computer.
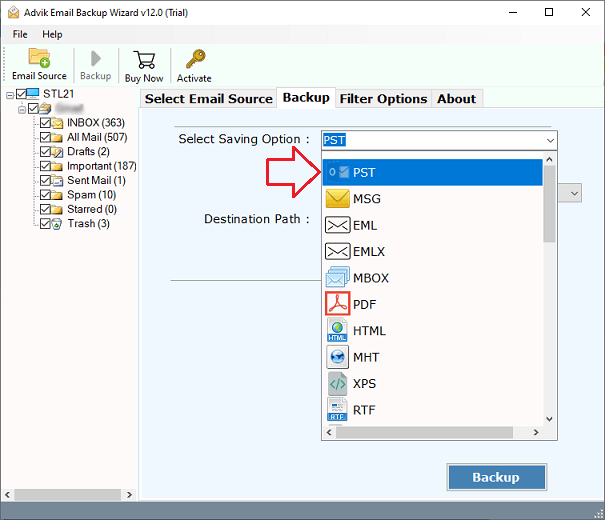
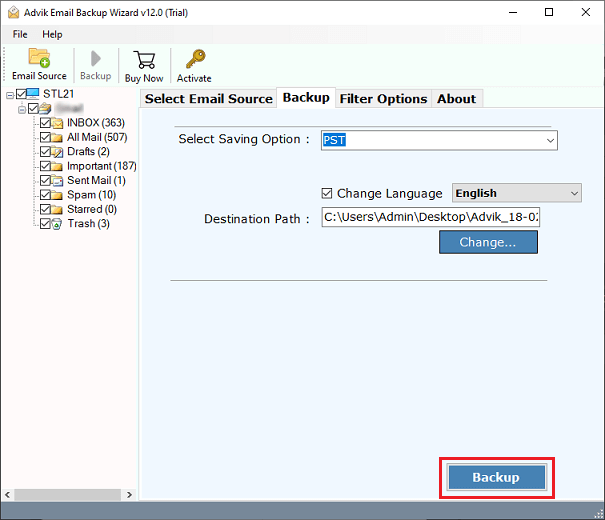
5. Now choose any file format to download your CenturyLink emails.
6. Choose the “Destination path” to save your resulting data.
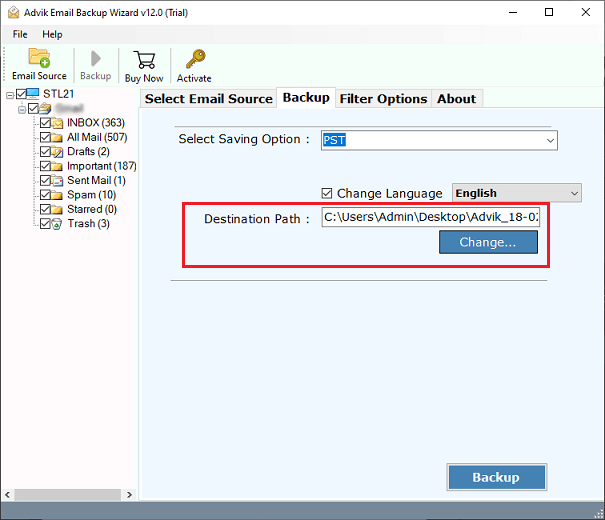
7. Finally, tap the “Backup” button to start downloading the CenturyLink emails.
That is all there is to it. The app begins downloading CenturyLink information to your system. Please wait for the process to finish.
Why is this method more Reliable?
The task is done quickly and easily by the software. There are also no file size limitations. Apart from the above functions, there are various advantages of using the CenturyLink email backup tool.
- Directly download CenturyLink emails to your system without any configuration.
- Offers 30+ saving options to export CenturyLink emails into multiple formats.
- Able to save the entire CenturyLink mailbox in a single attempt.
- Advanced email filter options to download only selected emails.
- Keeps the original structure of CenturyLink mailbox folders even after the process.
- Maintains all email attributes and properties while exporting.
- Simplified user graphical interface for all types of users.
- Compatible with both Mac and Windows operating systems.
- A free demo version to check the working procedure without any cost.
Conclusion
Hence, in the blog above, we have explained the step-by-step process to backup CenturyLink emails with both manual and professional solutions. However, there are numerous disadvantages to the manual solution. To avoid such challenges, we recommend that users use an automated tool, which can easily download CenturyLink emails to computer in 30+ file formats. You no longer have to use a predefined format. So download this tool to start your backup process.
Related Articles