How to Export Mac Outlook to PST File?
Learn how to export Mac Outlook to PST file quickly. Here, two methods are explained to convert Mac Outlook PST file with attachments. Read this blog completely to know more.
Microsoft Outlook for Mac stores its data in OLM format, whereas the Windows version of Outlook uses PST format for emails, contacts, calendars, and other mailbox items. If you are switching from Mac to Windows or need to back up your emails in a PST file, you must convert your Mac Outlook data to PST format.
Since Outlook for Mac does not provide a direct option to export emails to PST, you need an alternative method. This blog will guide you through different ways to export Mac Outlook emails to PST format. Read each method one by one and select the best as per your needs.
How to Convert Mac Outlook to PST File Free?
- Open Mac Outlook on your computer.
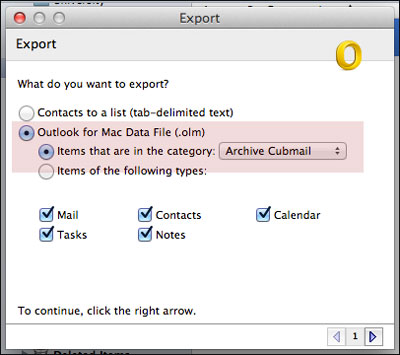
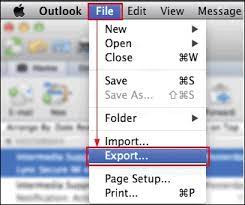
- Click on the File tab and select Export.

- Choose the folders you want to export.
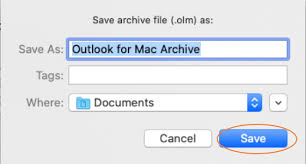
- Name the file and select a safe location to save it.
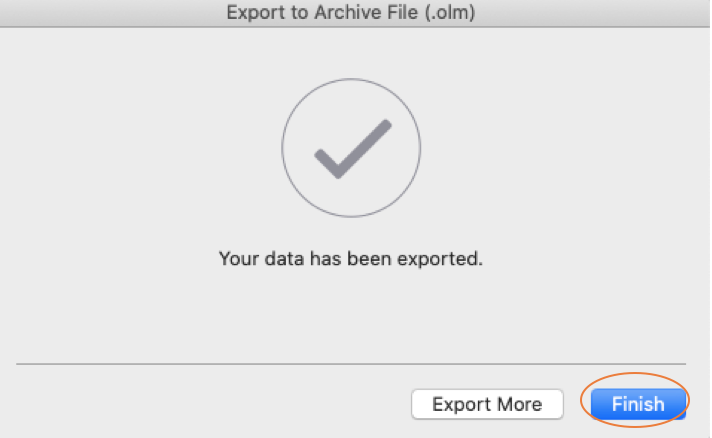
- Click Finish after the export process is complete. Your emails will be saved as an OLM file.
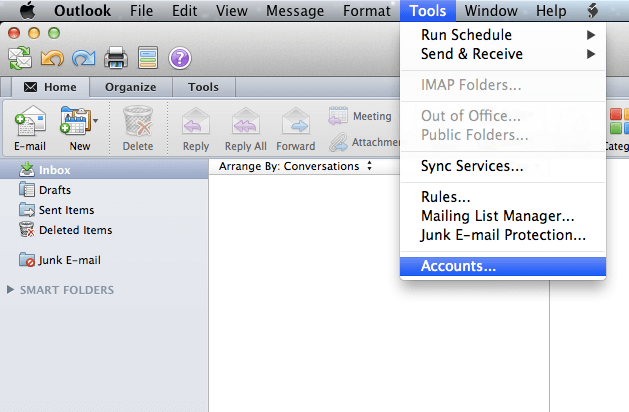
- Restart Mac Outlook and go to Menu > Tools > Accounts.
- Select Email and enter your Gmail account details (email & password).
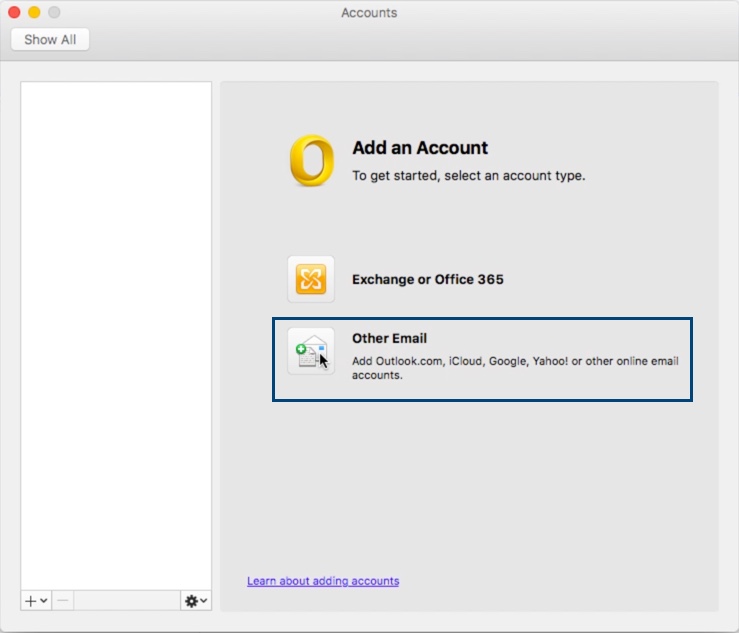
- Click Add Account to start the configuration process.
- Once your Gmail account is added, right-click on the Gmail profile and select New Folder.
- Name this folder to make it easier to find later.
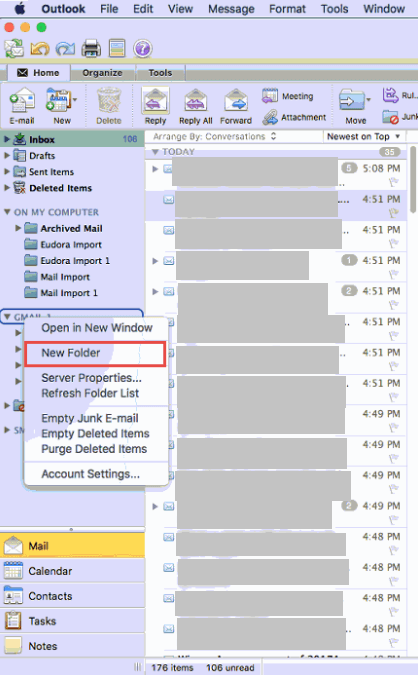
- In Mac Outlook, right-click the Gmail profile and select New Folder.
- Rename the folder as per your choice.
- Now, right-click your Mac Outlook mailbox, select the folder you want to export, and click Copy Folder.
- Locate the newly created Gmail folder and paste the Mac Outlook data into it.
- Wait for Gmail to sync your emails.
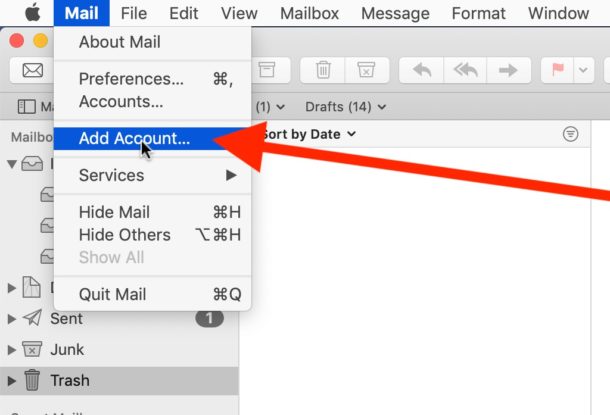
- Open Windows Outlook and add the same Gmail account you used in Mac Outlook.
- Allow some time for Outlook to sync all emails.
- Click on File > Open & Export > Import/Export in Windows Outlook.
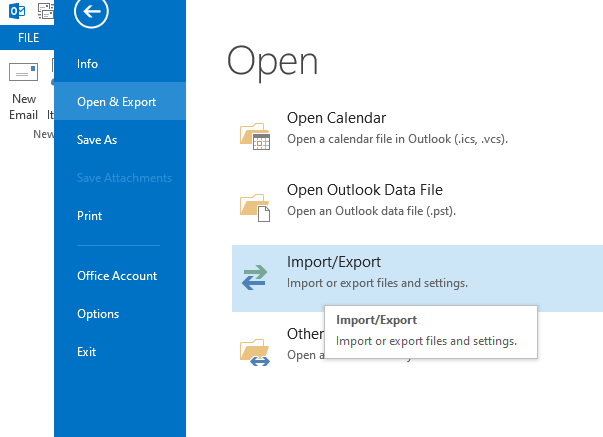
- Choose Export to a File and click Next.
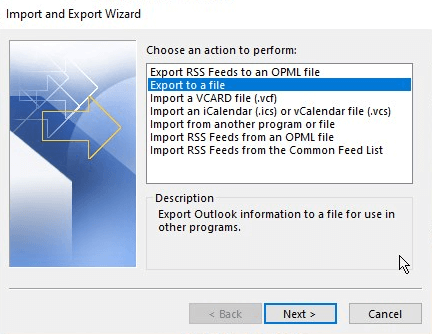
- Select Outlook Data File (.pst) and click Next.
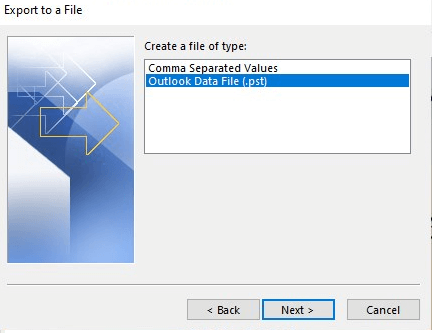
- Choose the Gmail folder where your Mac Outlook emails were saved and click Next.

- Browse a location to save your PST file and click Finish.
Your Mac Outlook emails are now successfully exported as a PST file!
Why Manual Methods Are Not Reliable?
Although the manual method allows you to export Mac Outlook to PST for free, it has several drawbacks:
- The process involves multiple steps and takes a long time.
- Your emails might not retain their original hierarchy.
- This method is not suitable for beginners.
- Since it involves multiple transfers, there is a high chance of losing important emails.
How to Export PST File from Mac Outlook Automatically?
The manual solution to export Mac Outlook to PST conversion has been discussed in the previous section, which is a little tricky. To export Mac Outlook to PST, there is no direct solution. In this case, we recommend you to choose a professional solution that can transfer emails from Mac Outlook to PST files directly.
We have a solution Advik OLM to PST Converter to export Mac Outlook to PST for free. It is a straightforward and easy-to-use solution that converts Mac Outlook data to PST format in a short time. With just a few clicks, you can easily convert single or multiple OLM files to PST format.


Steps to Convert Mac Outlook Emails to PST
Step 1. First, export OLM file from Outlook for Mac.
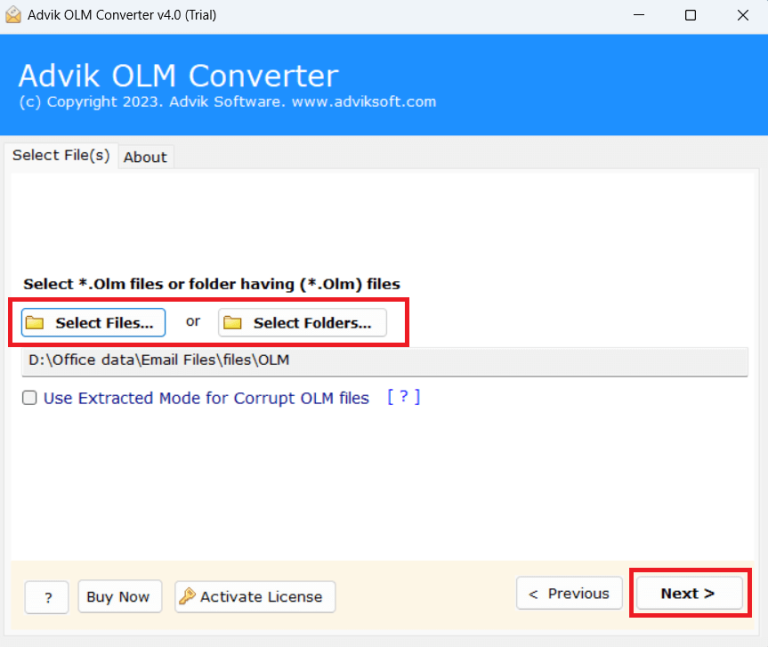
Step 2. Run the software and add OLM Files or folders having OLM files.
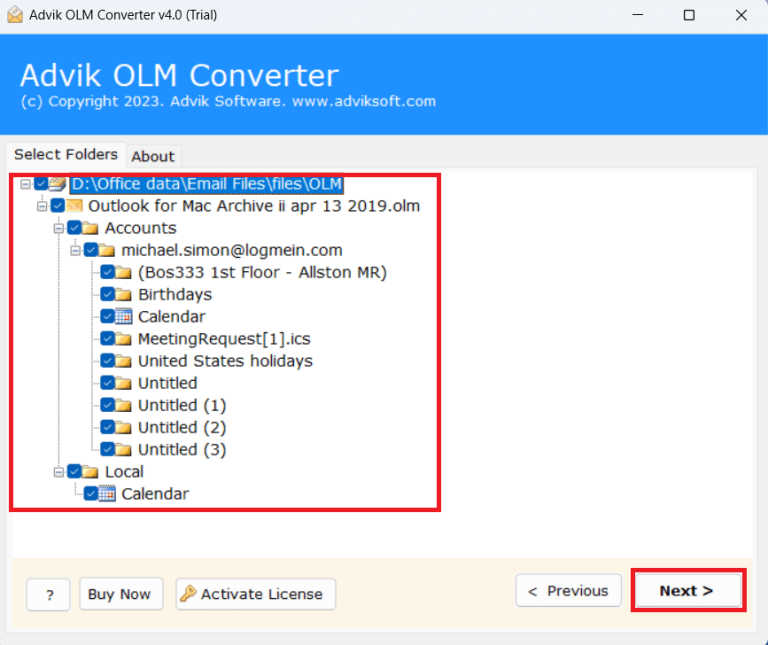
Step 3. Select the required folders from the preview.
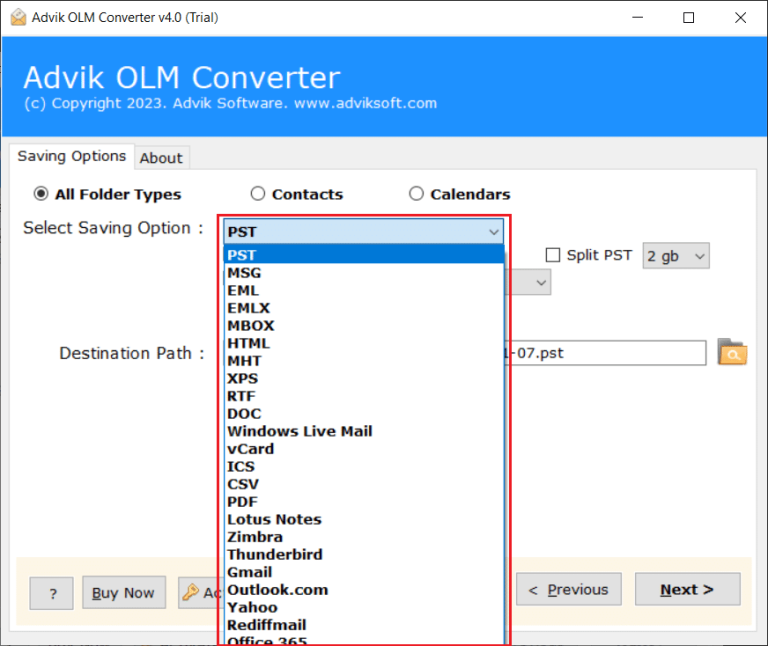
Step 4. Choose PST as a saving option from the list.
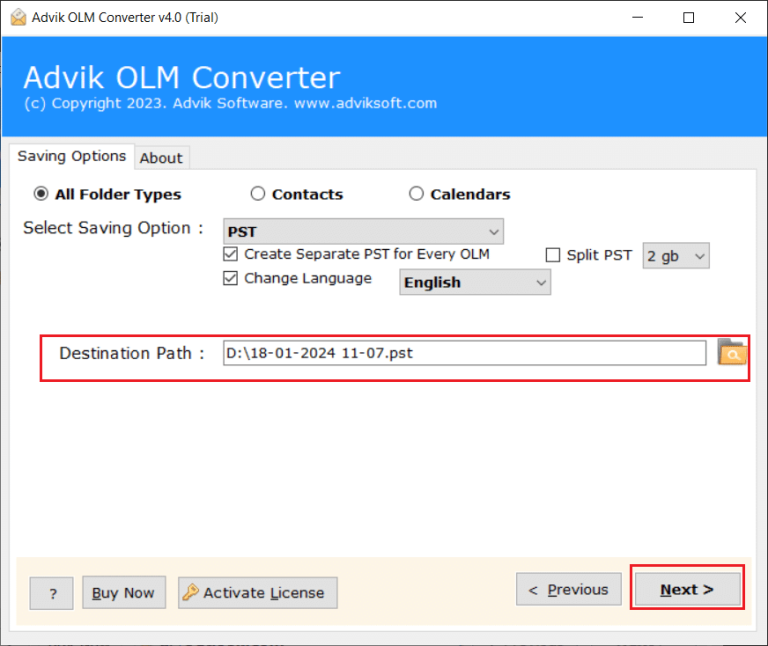
Step 5. Select Output Folder Location & click Convert button.
Now you can see your converted PST file in the location you chose. You can now easily understand how easy it was to export Mac Outlook to PST file.
Advantages of Using Automated Software
- Fast and Secure Conversion: Converts OLM files to PST in a few clicks.
- Maintains Folder Structure: Keeps emails, attachments, and metadata intact.
- Batch Conversion: Convert multiple OLM files at once.
- No Data Loss: Ensures emails, contacts, and calendar items are preserved.
- Supports All Versions of Outlook: Works with both older and latest Outlook versions.
Final Words
The conversion process of Mac Outlook data file to PST file is complete. Now you don’t have to worry about how to export Mac Outlook to PST file. In this blog, as we said, we have discussed two simple and easy solutions. Both solutions are identical and reliable in their respective functions. But everyone chooses one who is smart enough to complete the whole task in no time. Then the second method is the most reliable and effortless tool because manual solutions have some disadvantages. So choose wisely which method best suits your needs.
Related Articles