How to Fix Common PST Import Issues in Microsoft 365?
Jenny Lowrence | March 25th, 2026 | Outlook Errors
Are you trying to import PST file into Microosft 365 but you’re stuck with errors, delays, or incomplete imports? You’re not alone. Many users face PST import issues in Microsoft 365. It can be frustrating when users need to migrate important data. In this article, we’ll provide several techniques that will help you to fix PST import errors in Office 365.
Before moving ahead to the solutions, it’s important to understand the reason behind this issue. By identifying the root cause, you can quickly fix the issue and ensure a successful import process.
Why Do PST Import Issues Occur in Microsoft 365?
Importing PST files into Microsoft 365 may seem simple, but several factors can cause problems during the process.
- Large PST File: One of the most common reasons is an oversized PST file. If the PST file exceeds its size limits
- Corrupted PST File: A damaged PST file cannot be processed by the mailbox import service.
- Incorrect Mapping File: A CSV mapping file is required during network upload imports. Incorrect email mapping causes import failure.
- Insufficient Permissions: If users import PST files without proper permissions like Global admin or Import Export role not assigned cause import failure.
- Wrong AzCopy Version: If the PST files are not uploaded to the Azure storage container properly, then the import will fail.
- Poor Internet Connection: Slow or unstable internet will prevent the import from running properly.
- Unsupported File Format: ANSI PST files or improperly structured PST files are not supported by Microsoft 365.
Methods to Fix PST Import Issues in Microsoft 365
Here are some possible solutions to fix the PST import issues in Office 365. Go through each method and resolve this error quickly.
#1. Reduce PST File Size
Large PST files are causing various issues, including import failure. So, split your large PST files and keep their size under the recommended limits to import them correctly.
- Open Outlook and go to the File tab.
- Click Account Settings >> Account Settings.
- Now, click on Data Files section and choose the .pst file that you want to reduce.
- Click on Settings and select Compact Now.
#2. Repair PST File
Corrupted PST files are rejected by Office 365. Repair the PST file using the Inbox Repair Tool to import it successfully.
- Close Outlook and locate ScanPST.exe.
- Click on Browse to choose PST file.
- Click on the Start button to begin the scanning process.
- If it detects any errors, then click on Repair.
- After repairing, import it into Office 365.
#3. Verify SAS URL
An incorrect SAS URL can cause PST import issues in Microsoft 365.
- Generate a fresh SAS URL from the Compliance Center
- Ensure the SAS URL has Read, Write, and List permissions.
- Upload PST files to the correct Azure container.
- Use the latest Microsoft-recommended CSV mapping template.
#4. Assign Proper Permissions
Insufficient user permissions can cause authentication failure during PST import. So, ensure that users have the necessary permissions to access both the PST file and the Microsoft 365 account.
- Assign the Mailbox Import Export role.
- Use a Global Admin or Exchange Admin account.
- Sign out and sign back in after role assignment.
#5. Verify PST File Format
Older Outlook versions generate ANSI PST files, which are not supported by Microsoft 365. So, update your Outlook version and export the data in UNICODE PST to fix PST import errors in Office 365.
#6. Check Network Connection
A slow or unstable internet connection leads to import failure. So, ensure you are using a stable or high-speed connection to avoid any interruptions during uploading.
Professional Approach to Fix PST Import Errors in Microsoft 365
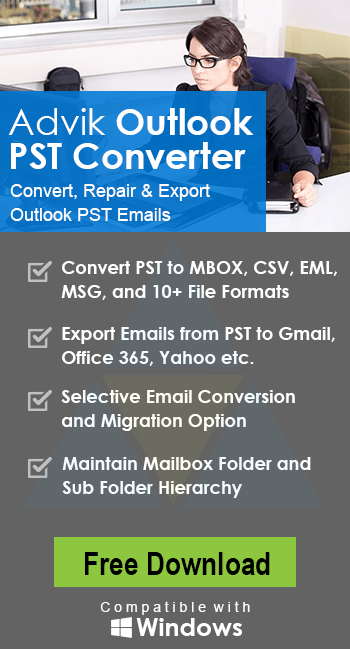
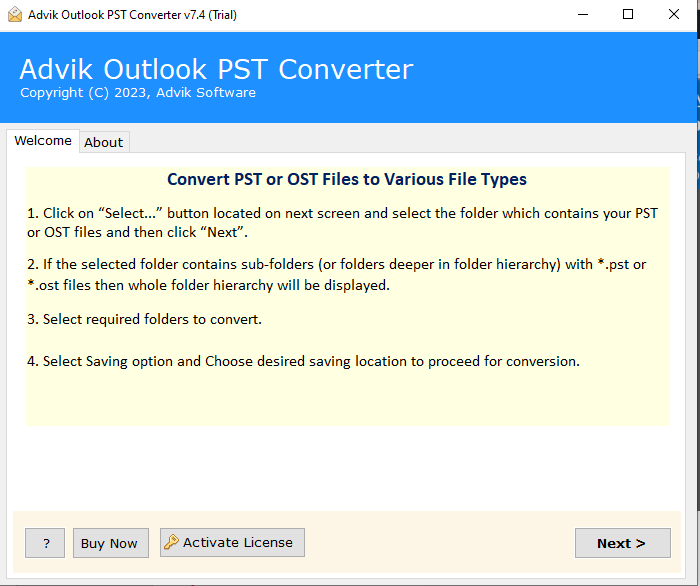
Try the Advik PST Converter to solve PST import issues in Office 365. With this tool, you can quickly import PST to Office 365 without any manual configuration. It has a dual mode that enables you to import single or multiple files at once. The tool preserves data integrity and maintains the original folder structure during the process.
Click on the below link and complete the PST to Office 365 migration in just a few simple clicks.

Steps to Resolve PST Import Issues in Office 365
1. Run the tool on your system.
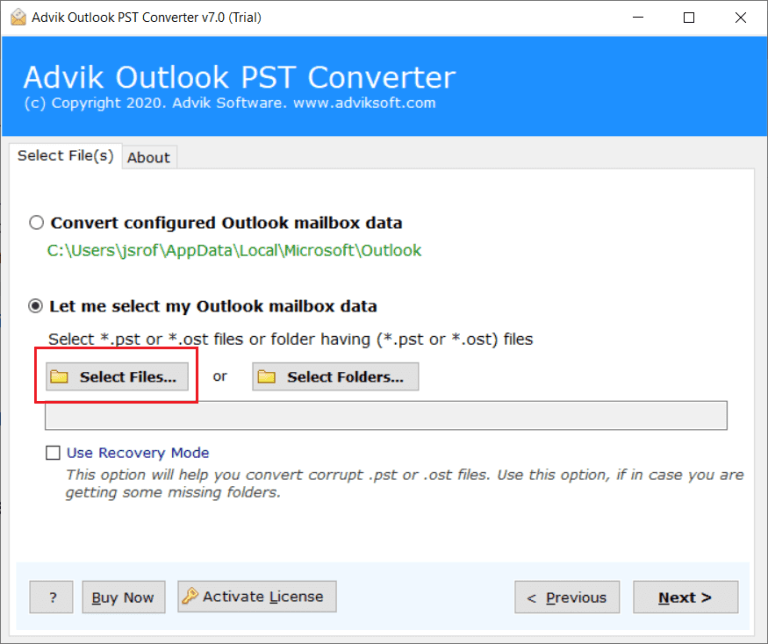
2. Click on Select Files or Folders to add .pst file.
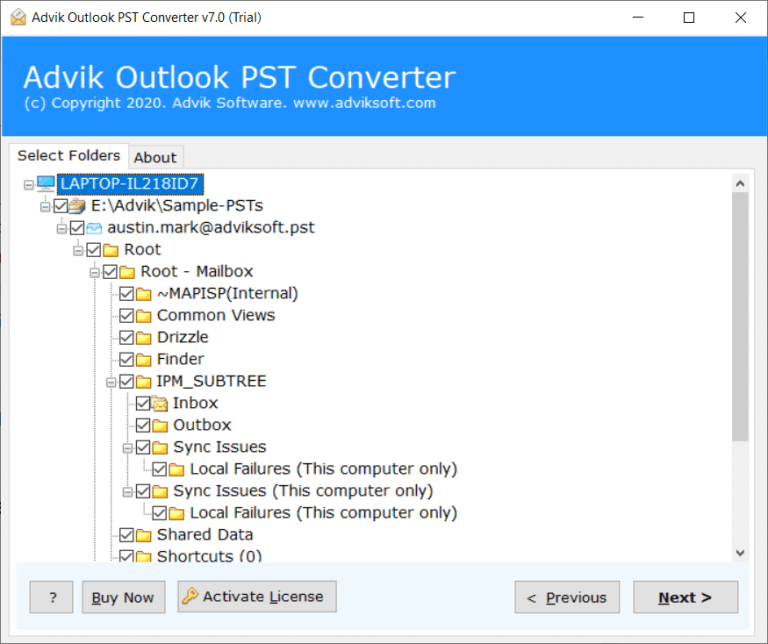
3. Choose the mailbox folders & subfolders.
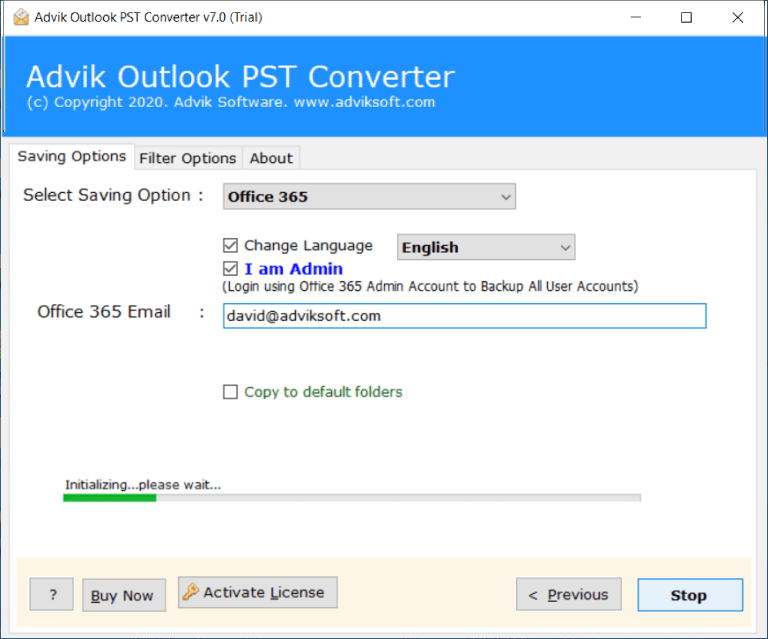
4. Next, select Office 365 as a saving option.

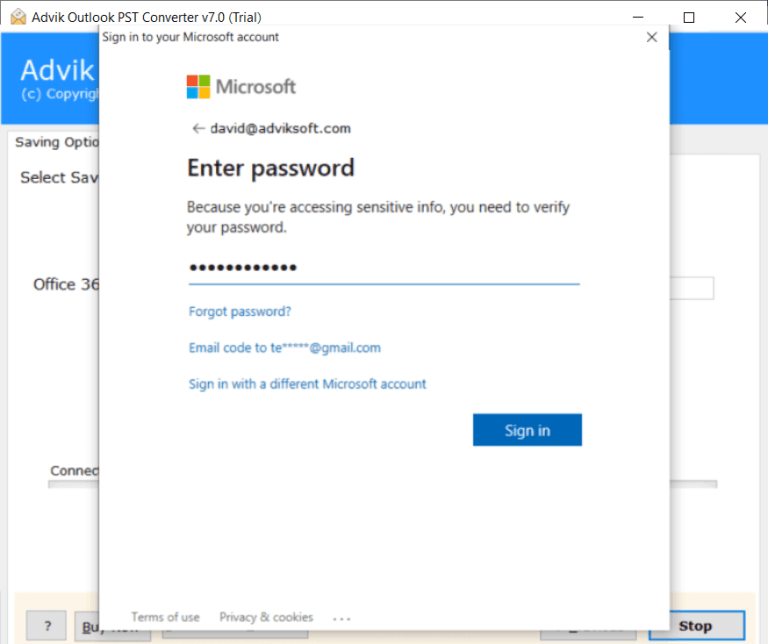
5. Enter your Microsoft 365 login credentials in the respective field.
7. Click the Convert button to begin the importing process.
This is how you can import your data into Microsoft 365 easily.
Conclusion
PST import issues in Microsoft 365 usually occur due to large file size, corruption, permission errors, or network problems. In this post, we have explained several methods to fix PST import problems in Microsoft 365. Check all the methods and choose the one that can solve the error. However, with the expert-recommended tool, you can quickly complete the importing process without facing any issues.