How to Move Old Emails to PST File?
Jenny Lowrence | April 30th, 2025 | Email Migration
If your inbox is overflowing with old emails and you’re planning to switch email platforms, one of the most common questions you might ask is: “How do I move old emails to PST file?” Doing so not only helps free up mailbox space but also ensures that your important conversations, attachments, and records are safely backed up and accessible anytime. In this guide, we’ll discuss both automatic and manual to export or transfer old emails to PST file efficiently.
A PST (Personal Storage Table) file is used by Microsoft Outlook to store emails, contacts, calendars, and other mailbox items. Exporting old emails to PST file is useful to;
- Keep a backup of important communication
- Transfer your emails to a new system
- Archive emails that are no longer needed frequently
- Prevent the mailbox from getting full or slow
You can either use Microsoft Outlook’s built-in export option to manually move emails or choose an automated tool that simplifies the task by transferring old emails from multiple accounts to PST in one go. The choice depends on how many emails you need to move, whether Outlook is installed, and how much time you want to spend on the process.
Without further ado, this guide will show you how to move old emails to PST file. You can do it manually or automatically. After reading the complete blog, compare the two techniques and find out which one is better for you.
How to Transfer Old Emails to PST File Manually?
- Open Microsoft Outlook and click File >> Add Account.
- Enter the email address where your emails are stored.
- Now, enter IMAP and SMTP details and add it to Outlook.
- Next, go to the File tab > click on Open & Export.
- Choose Import/Export.
- Select Export to a file > Click Next.
- Choose Outlook Data File (.pst) > Click Next.
- Select the mailbox folder(s) you want to export (e.g., Inbox, Sent Items)
- Click Filter and go to the Advanced tab.
- Add a condition like: “Received before [specific date]” to target old emails
- Choose the destination path and name the PST file.
- Click Finish.
Completed!
Now, check out some of the challenges you will face while implementing this method;
- Time-consuming for large mailboxes
- Requires Outlook to be installed on your system
- Doesn’t support multiple accounts at once
How to Move Old Emails to PST Automatically?
If you’re looking for a quicker and easier way to move old emails to PST file, using Advik Email Backup Tool is a great option. This tool allows you to transfer emails from multiple email services to PST file without Outlook. The software automatically selects and moves emails, even allowing you to filter and transfer only the old emails you want.
It’s user-friendly, works for bulk transfers, and ensures your emails, attachments, and folder structure remain intact. With no need for manual steps or tech expertise, this automated solution completes the entire process in a minimum steps.
Click on the free download button and explore its working procedure.


Steps to Move Emails to PST File
Step 1. Run the software and choose the email source from the list.
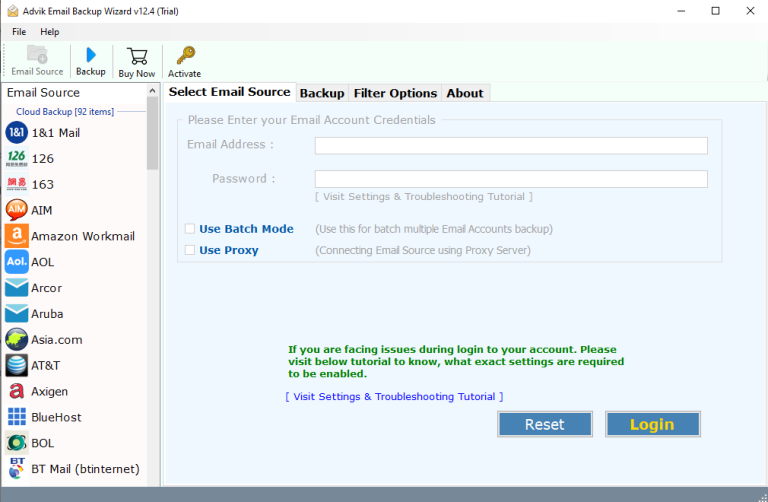
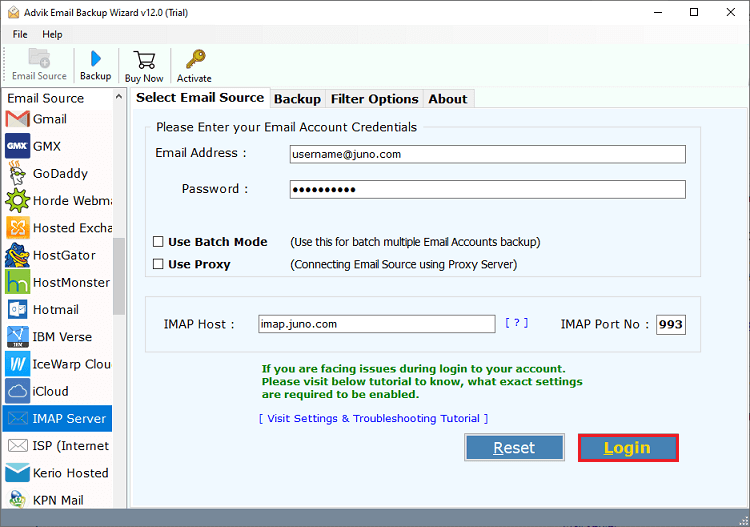
Step 2. Log in with your old email account details.
Step 3. Select the required email folders to transfer.
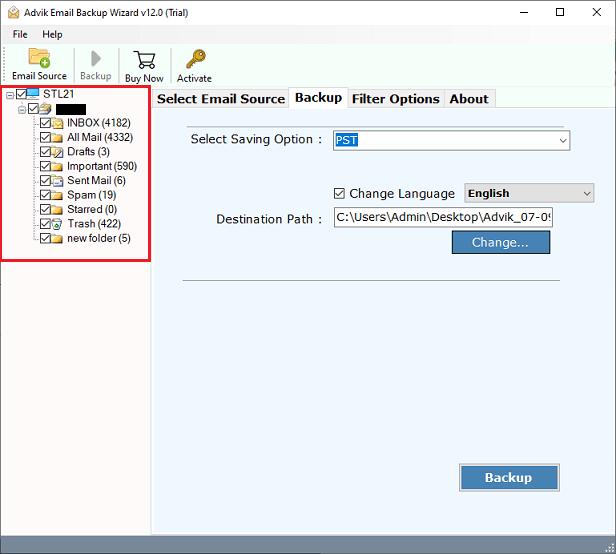
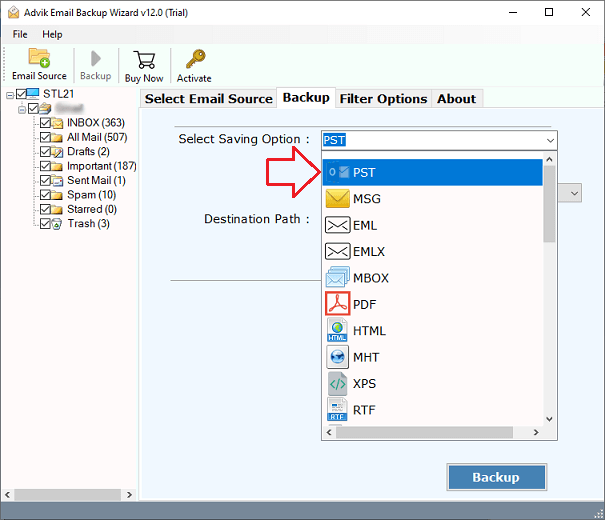
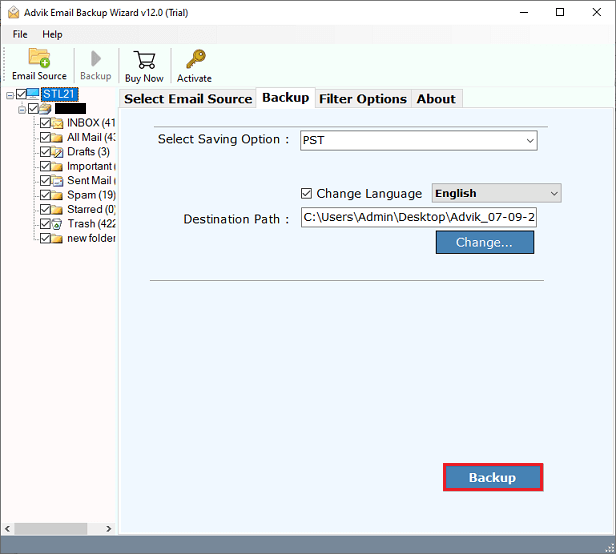
Step 4. Choose PST as a saving option from the list.
Step 5. Browse the destination path and click Backup.
Once completed, you will be redirected to your chosen location.
Now, access all your transferred old emails in PST file.
Top Benefits of Choosing an Automated Solution Over Manual Methods
Using automated software like Advik offers numerous advantages for moving old emails to PST file. Some of them are;
- No Outlook Required: You don’t need to have Outlook installed on your system to use the software.
- Supports Multiple Email Services: The software works with 90+ email services available worldwide, so that you can move emails from different platforms.
- Bulk Email Transfer: You can transfer emails from multiple accounts or large mailboxes in just a few clicks.
- Date Range Filter: Allows you to filter and move emails based on a specific date range, so it will be easy to target old emails.
- Maintains Email Structure: The software preserves your folder structure, attachments, and email formatting during the transfer process.
- User-Friendly Interface: The tool is easy to use, with a simple and intuitive interface. Even a non-technical person can use it without any issue.
- Safe and Secure: It ensures that no data is lost during the transfer and keeps your emails and attachments secure.
- Fast and Efficient: The software handles the entire process automatically, saving you time compared to manual methods.
- Free Demo Available: You can try the tool for free to check its features and performance before committing to the full version.
Conclusion
This article has shown you how to move old emails to PST file. You can do it in two ways, depending on your needs and requirements: automatically or manually. If you want to transfer a few emails to PST file, you can do it via Outlook’s IMAP settings. However, for bulk email transfer, using an automated software is suggested.
So, we leave you to choose the best option for you. But, before choosing any method, one must read its pros and cons. Also, try the free demo version to check the complete working steps along with all its features. Once satisfied with its performance, then only move towards using it for the unlimited email transfer process.