How to Migrate Emails from HostGator to Gmail?
Christopher Plummer | February 11th, 2026 | Email Migration, Gmail
Summary: If you are wondering how to migrate HostGator to Gmail account. This article will step-by-step guide you to transfer Hostgator emails to Gmail with attachments and folder hierarchy. Here, we’ll provide a manual as well as a professional solution to complete the migration process.
HostGator is a well-known domain registrar that offers safe and affordable web hosting. It has the ability to easily handle and maintain a number of small and medium-sized businesses. HostGator provides extensive capabilities for business improvement and online presence, from selling domains at low prices to managing websites created on platforms like WordPress. It is suitable for a variety of businesses because it offers a large range of hosting plans.
On the other hand, Gmail is one of the most popular and preferred email services. It’s a free email service with a lot of cool features, including the Preview pane, Bookmarks, 15GB of G Drive storage, and Google Duo. Many users wish to switch from HostGator to Gmail because of the numerous benefits it provides.
Before proceeding with the step-by-step process of migrating from FastMail to Gmail, let’s look at the user query:
“Hello! We used HostGator email service in the early days for my professional work, but now I want to use Gmail account for email management. So, I decided to migrate emails from HostGator to Gmail. Please share a reliable solution to transfer HostGator to Gmail. Thanx in advance!”
Without any delay, let’s dive into the methods!
How to Migrate Emails from HostGator to Gmail for Free?
Follow the steps below to transfer HostGator emails to Gmail.
1. Go to your Gmail account and sign in.

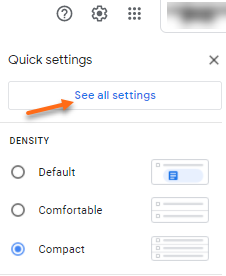
2. Select “See all Settings” from the “gear” icon in the upper right corner of the page.
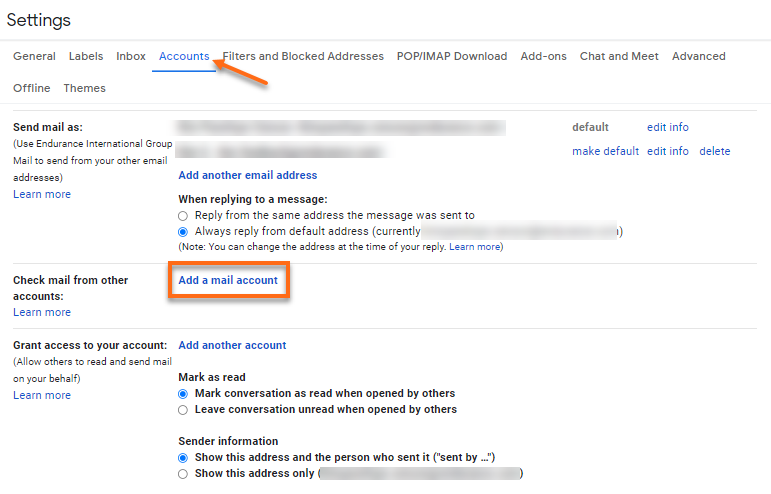
3. Select the “Accounts tab” from the drop-down menu.

4. In Check mail from other accounts, tap on the “Add a mail account”.
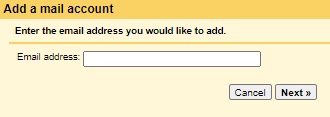
5. Enter the entire email address of your HostGator account in email address box and click “Next”.
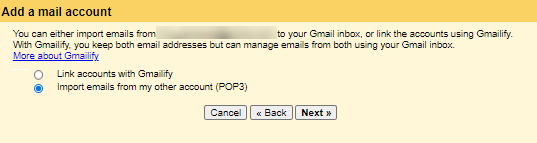
7. Choose “Import emails from my another account (POP3)” from the drop-down menu .
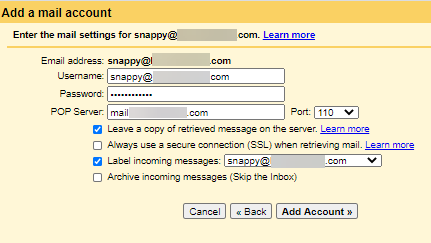
8. On the following page:
Username: Enter your HostGator full email address as your username.
Password: Enter the password associated with the email address you provided.
POP Server: Type either mail.example.com or the name of your server.
Note: Please substitute your actual domain name for example.com.
Port: Enter port number as 110 and use Port 995 for a secure connection if you have an SSL.
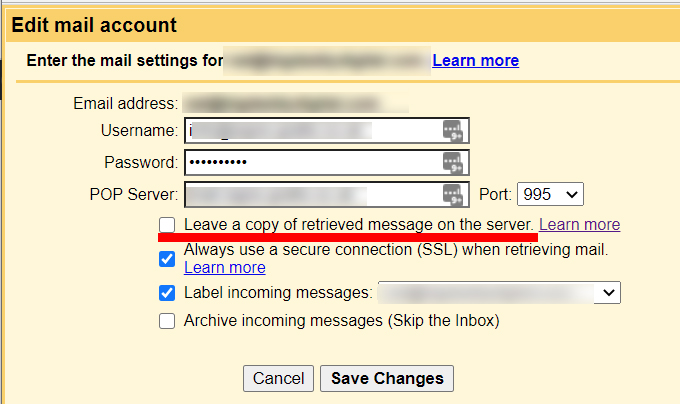
9. Now, you will see the following options in new tab:
- Leave a copy of retrieved messages on the server
- Always use a secure connection (SSL) when retrieving mail
- Label incoming messages
- Archive incoming messages
Make sure to choose “Leave a copy of retrieved messages on the server”.
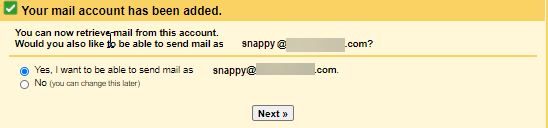
10. Now, you will get a notification that your email account is added successfully, and a confirmation page will appear.
11. After successfully adding your account, click “Yes, I want to be able to send mail as” and tap the Next button to complete the process.
In this way, you can easily migrate HostGator to Gmail account.
However, since it is a manual solution, it has some of the following disadvantages that we found out during the migration process.
Drawbacks:
- Lengthy and Complex Procedure
- Time-consuming method
- Batch conversion is not supported.
- To convert, you’ll need technical knowledge.
- There is no guarantee that data will not be lost.
In such a situation, you’ll need to use a third-party program to move HostGator emails to your Gmail account.
How to Transfer HostGator Emails to Gmail Automatically?
To execute the process fully automatically, you have to install the Advik Email Migration Tool on your PC. This software can migrate HostGator to Gmail safely. The program is best for home and professionals because it has a self-explanatory user interface. It will move mailboxes in the same folder hierarchy without losing any single bit of information. You will get “Advanced Filter” option too for exporting only specific emails.
Click below and download the software for FREE. You can transfer 25 emails for free.


Steps to Migrate HostGator to Gmail
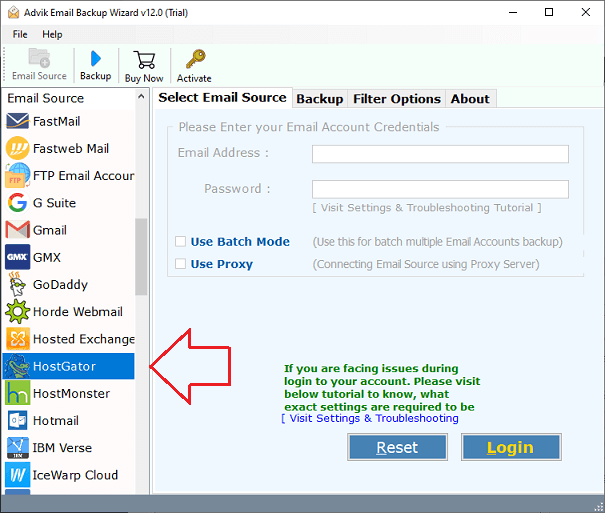
1. Launch the software on your PC.
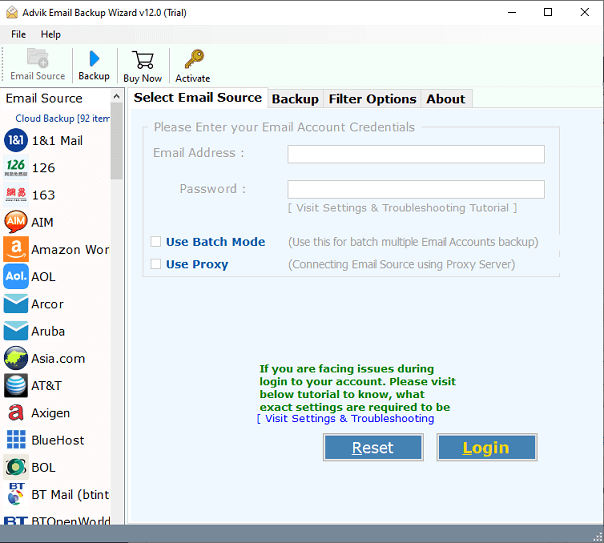
2. Select Hostgator as email source.
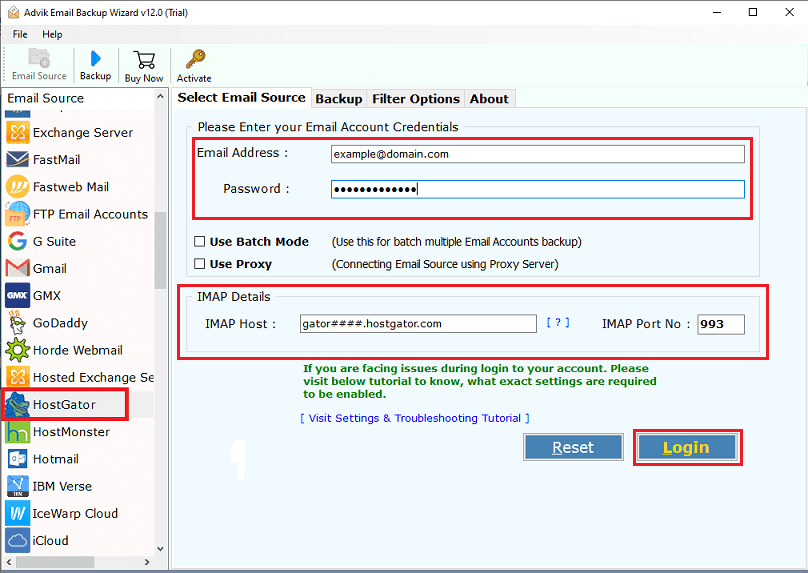
3. Enter your Hostgator email credentials to sign in.
4. Select email folders to transfer to Gmail.
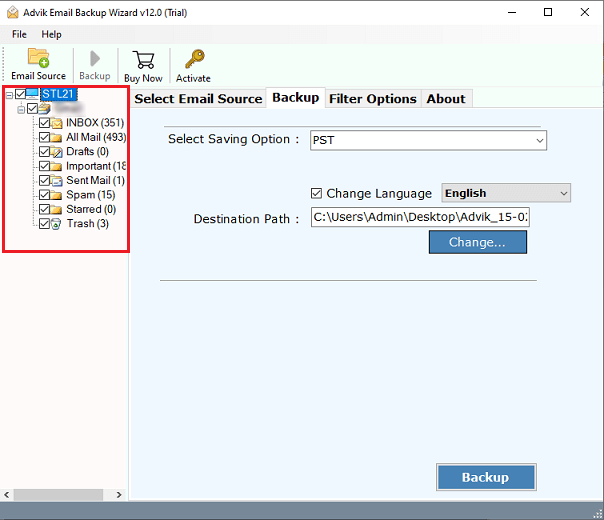
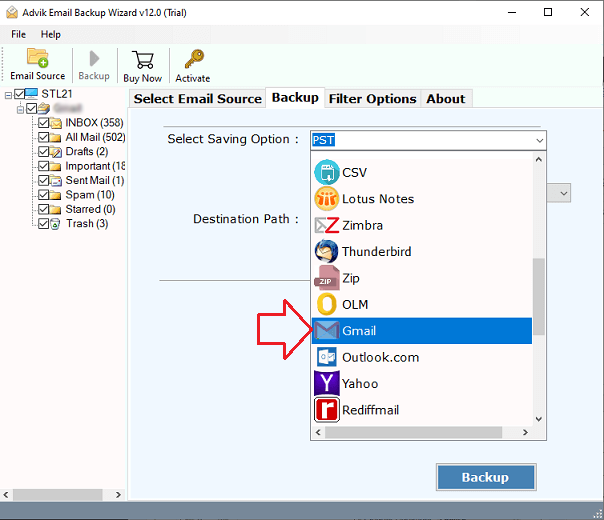
5. Choose Gmail as saving option from the list.
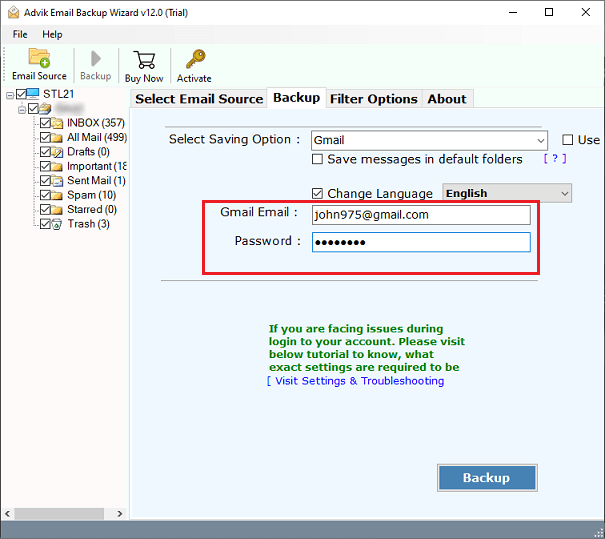
6. Enter your Gmail credentials and app password.
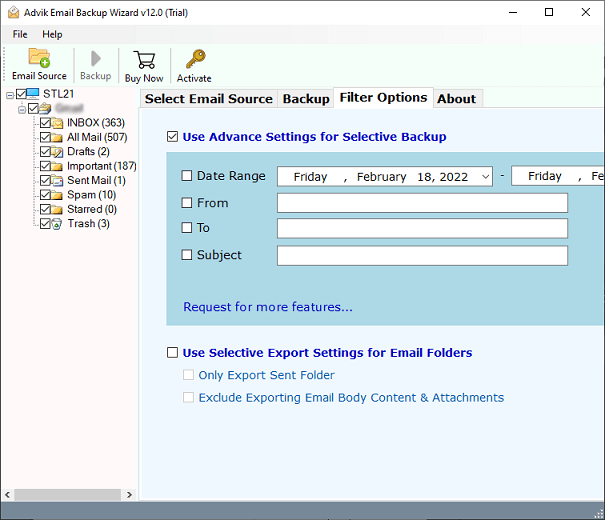
7. You can apply email filters to copy specific emails only. (Optional)
8. Click the backup button to start migration process.
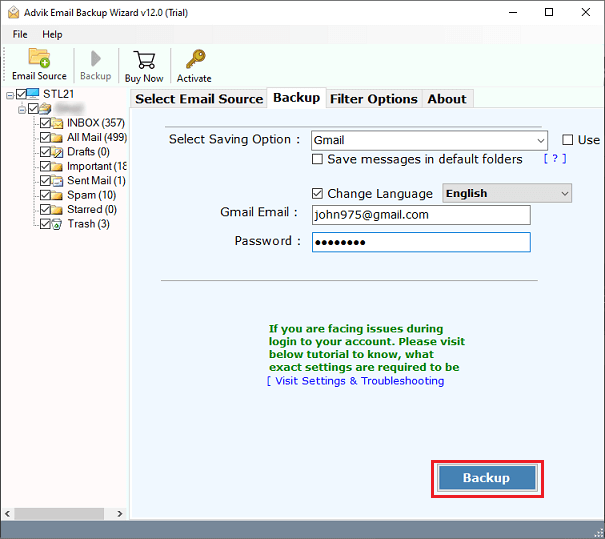
The program will start migrating or transferring emails from HostGator to Google Mail. Once, it will get finished you will be notified with a pop up notification. The software will also generate a log report.
Watch How to Transfer Emails from HostGator to Gmail
Final words
We’ve explained a simple approach in this blog that allows you to migrate HostGator to Gmail account. The Tool is specifically meant to help users who are having trouble migrating from HostGator to Gmail. This HostGator to Gmail migration Tool offers a simple and secure method of switching from HostGator to Gmail. Overall, we recommend users to use automatic solution to transfer HostGator email to Gmail, with all inbox folders is a simple process.