How to Archive Emails in Office 365 – Step-by-Step Guide
Jackson Strong | April 29th, 2025 | Office 365
Do you have too many Office 365 emails cluttering your inbox? If yes, you might be looking for how to archive emails in Office 365 mailbox. Don’t worry, here we will discuss complete steps to help you move emails to archive folder in Office 365.
Let’s explore your options in more detail.
But before that, you must know what archiving does in Office 365.
What Happens When You Archive Emails in Office 365?
- Moves old emails from inbox to a separate archive mailbox.
- Frees up space in your main mailbox.
- Archived emails are safe and not deleted.
- You can search and access archived emails anytime.
- Admins can set it to archive emails automatically.
- The archive appears as a separate folder in Outlook.
This means your important emails stay with you, but your inbox becomes easier to manage.
How to Archive Office 365 Emails Manually?
If you’re an Office 365 admin, you can enable In-Place Archiving for users.
- Go to the Microsoft 365 Admin Center.
- Click on Compliance Center > Information Governance > Archive.
- Choose a user and click Enable under the archive status.
- It may take some time to activate.
Once enabled, users will see a new mailbox called “In-Place Archive” in Outlook. They can drag and drop old emails into this mailbox or use retention policies to move emails automatically.
This is a great option for companies needing long-term email storage and compliance.
How to Archive Office 365 Mailbox Automatically?
To archive Office 365 emails automatically, download and install the Advik Office 365 Backup Tool. This easy-to-use software helps you export all emails from Office 365 safely without losing any data. You can choose to save emails in many formats, like PST, EML, MSG, PDF, and more. The tool is simple to use, even if you don’t have technical skills. It also lets you save archived emails to other platforms with over 30 saving options.
Try the free version to see how it works!

Steps to Archive Office 365 Emails to Hard Drive
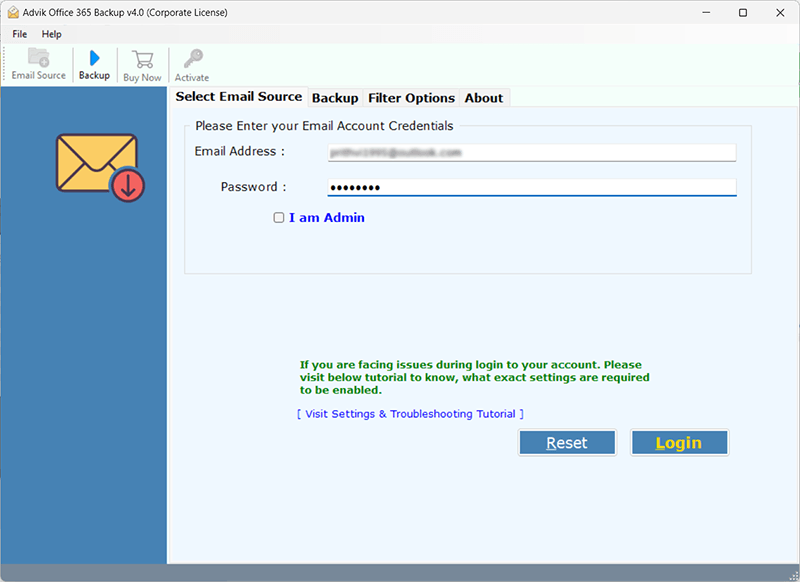
Step 1. Run the software and log in with your Office 365 account details.
Step 3. Select the required mailbox folders that you wish to archive from the Office.
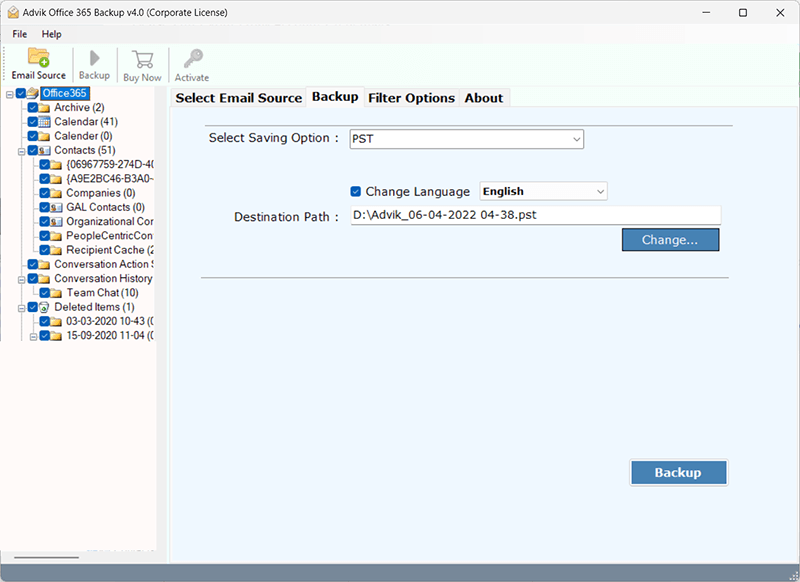
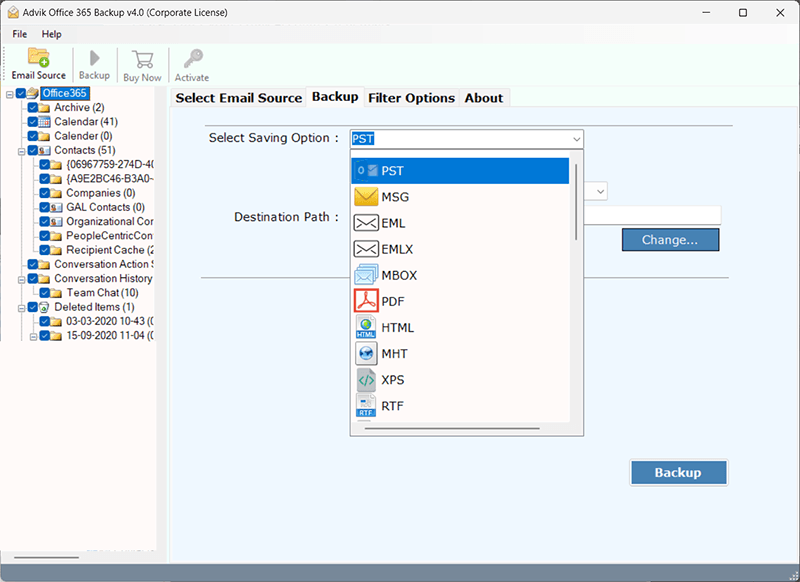
Step 4. After that, choose a preferred saving option.
Step 5. Choose the desired destination path & click Backup.
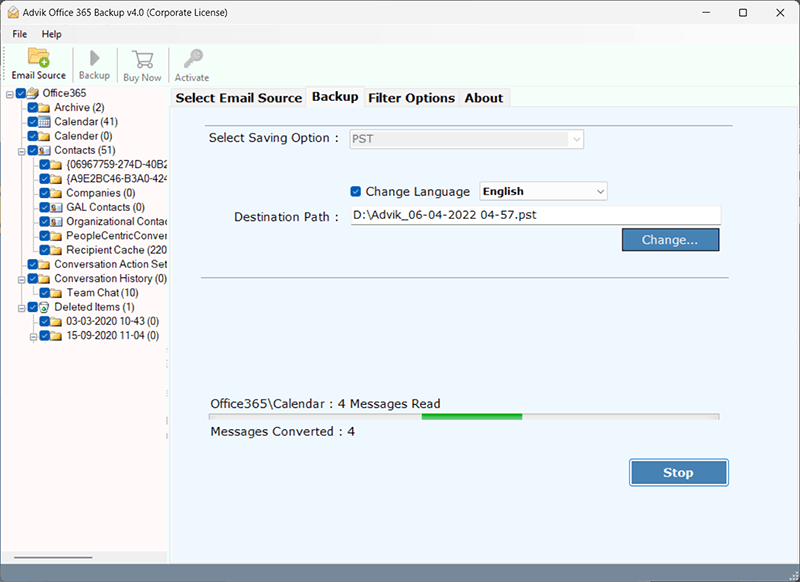
The software will quickly and safely save all selected emails to your hard drive.
Watch How to Archive Office 365 Mailbox Easily
Key Features of the Office 365 Email Archiving Tool
- Easy to Use: Simple interface that anyone can use without technical skills.
- Multiple Saving Options: Export Office 365 mailbox to PST, PDF, MSG, and more.
- Selective Archiving: Choose specific folders or emails to archive, not just the entire mailbox.
- Preserves Email Properties: Keeps attachments, metadata, formatting, and folder hierarchy intact.
- Fast and Secure: Ensures no data loss or changes during the archiving process.
- Windows Compatible: Works smoothly on all modern Windows versions.
- Free Trial Available: Try before you buy to test all features without risk.
Final Words
In this blog, we explained two ways to archive emails in Office 365 — manual and automatic. The manual way is quite difficult and needs technical skills. That’s why using an automated tool is better. With this tool, you can easily backup emails you want to archive and then delete them from your mailbox. This will free up space, and you’ll always have a safe copy of your archived emails without dealing with complicated steps.
So, using an automatic tool is easier and faster. If you have any questions, our support team is available 24/7 to help you anytime.