How to Backup Windows Live Mail to External Hard Drive?
Christopher Plummer | January 3rd, 2026 | Data Backup, Windows Live Mail
Summary: Performing Windows Live Mail backup helps to protect your important data from being it forever. As Windows Live Mail is no longer supported by Microsoft, it’s become even more important to backup Windows Live Mail to external hard drive or any local storage system.
Windows Live Mail was previously used to manage emails, contacts, and calendars in one place. Although many users still use it, it has been discontinued by Microsoft. Users can’t receive any security updates, data loss chances are high, and emails can be lost due to any server issues.
The backup process also helps you to prevent any uncertain situations, such as accidental deletion, application crash, etc. So, now you can follow the upcoming step-by-step guide to perform the Windows Live Mail email backup process.
How to Backup Windows Live Mail to External Hard Drive?
WLM users can backup their email data using the “Export Mail” feature. A built-in option helps you to securely export your data without using any third-party tool. Follow the steps below to backup your Windows Live Mail data with the help of this feature.
1. First, create an empty folder where you want to save your backup copy of Windows Live Mail emails.
2. Open the Windows Live Mail application and sign in with your account credentials.
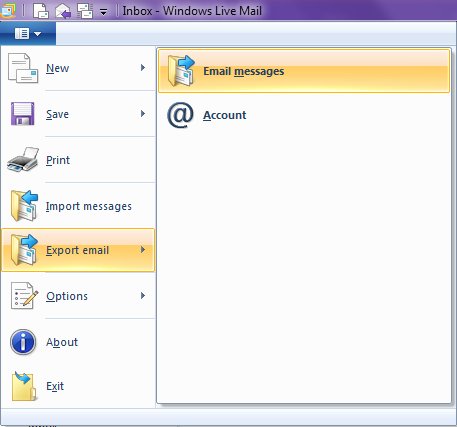
3. Click the Windows Live Mail icon, click Export Mail, and then select Email Messages.
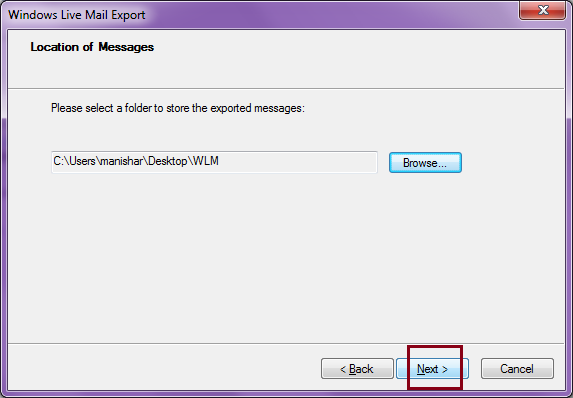
4. Select the folder you created earlier and click on the “Next” button.
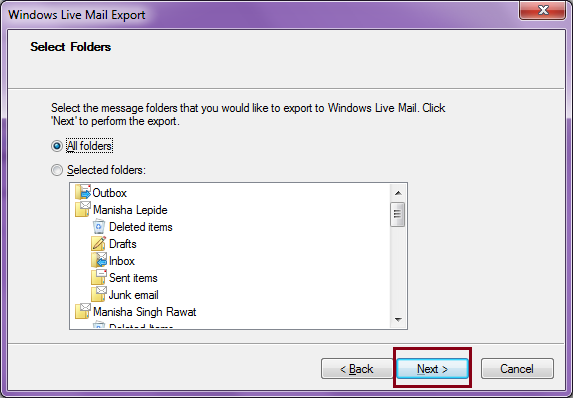
5. Select the required folders to download to your chosen location.
6. Select the “All Folders” radio button and tap on the “Next” button.
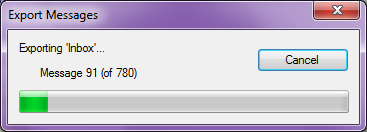
7. The process has started now, please wait some time for the whole process to finish.
8. When you are done, tap on the “Finish” button to complete the whole process.
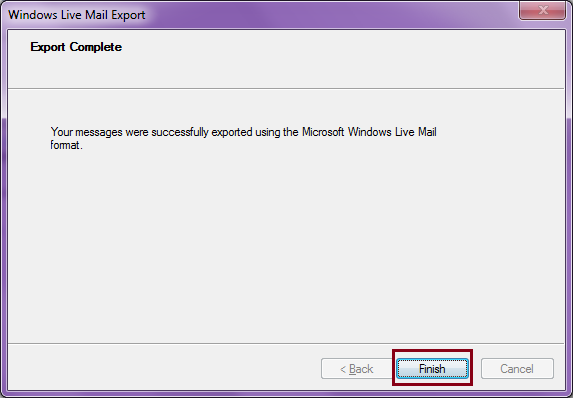
After the process is complete, check the exported data in a new folder. All emails are saved in just one format, i.e., EML.
Before moving ahead, have a look at some important points;
- Only supports .eml file format.
- Multiple emails may take time to export.
So, if you want the above options in their Windows Live Mail backup process, then the method below is recommended.
How to Save All Emails from Windows Live Mail to Hard Drive?
Try the professional Advik Windows Live Mail Backup Tool. This powerful tool offers an automated, time-saving, and direct way to backup Windows Live Mail to External Hard Drive. It not only helps you to save Windows Live Mail to Flash Drive, but also backup personal data that may contain emails, calendars, contacts, and other important files in a single attempt. Besides, you can export Windows Live Mail to PST, MSG, EML, MBOX, CSV, DOC, PDF, etc. It will make it easy for the users to save Windows Live Mail emails in multiple file formats using a single tool only.
So what are you waiting for? Click on the Free download button and check it’s working steps now!

Steps to Backup Windows Live Mail to External Hard Drive Automatically
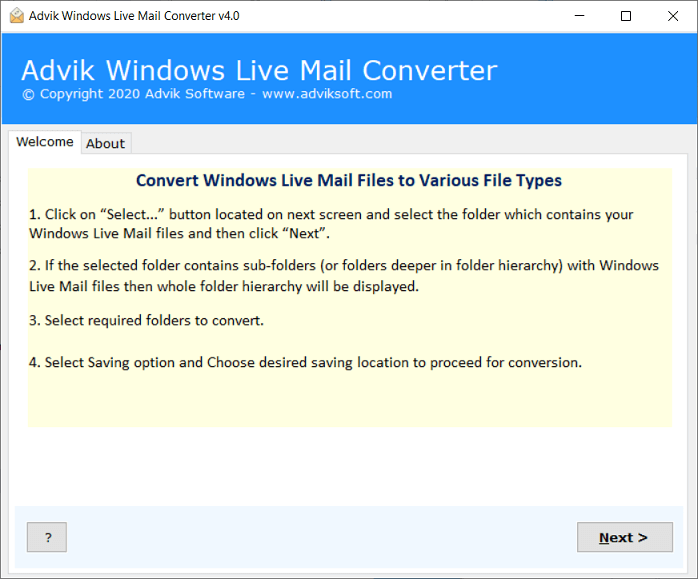
1. Launch this automated software on your Windows PC.
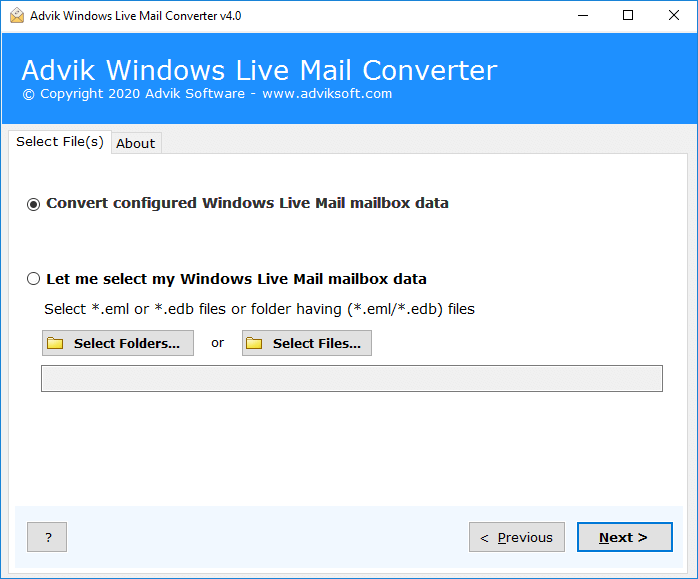
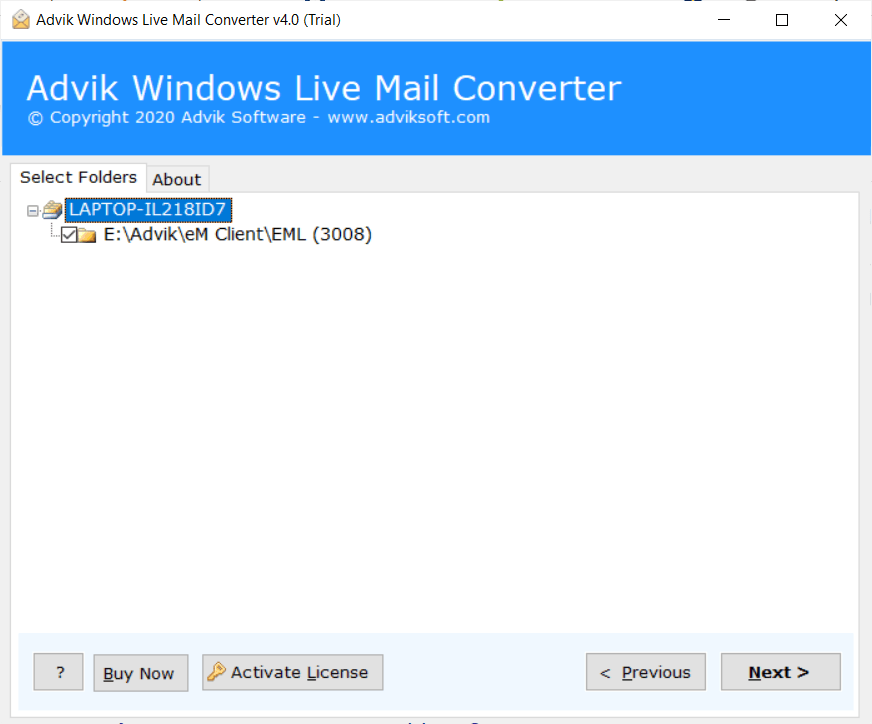
2. Select your profile and click Next.
3. Select email folder or folders and click Next.
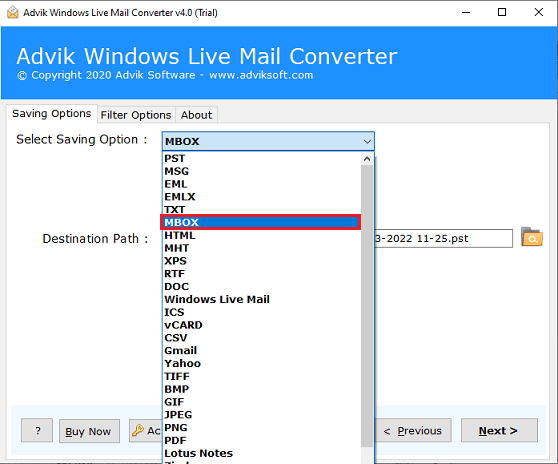
4. Select backup file format from saving option.
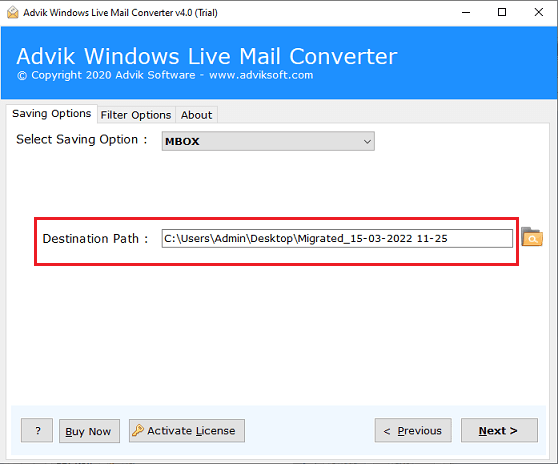
5. Select the destination path to your hard drive and click Next.
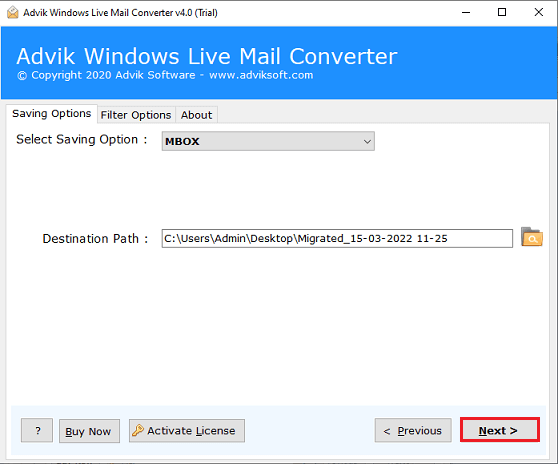
6. Hit on the “Next” button to start the backup process.
Once the backup process finishes, the software will notify you with a message of completion of the task.
Now, you may go to the chosen location to view your backup data file.
Benefits of Using Automated Software
- Multiple Saving Options: The tool offers various saving options to save Windows Live Mail emails into various file formats. Also, it can migrate Windows Live Mail to Thunderbird, Outlook, Gmail, Yahoo Mail, etc.
- Detailed Preview: It also shows a preview of the complete Windows Live Mail mailbox folders before backup. So that you can choose any mailbox folders as per your requirements.
- Email Filters: You can also sort your emails based on various advanced email filters, such as to, from, cc, bcc, subject, etc.
- Selective Backup: The software allows you to export specific email folders from your Windows Live Mail profile.
- Windows Supportive: You can run this application on any Windows-based system. It works with all recent and older versions of Microsoft Windows, including Windows 11.
Final Words
We hope that the blog has assisted you in performing a complete Windows Live Mail backup of emails to your local or external hard drive. You can choose any of the listed methods as per your convenience. However, we suggest you try all the methods first for a few emails, then proceed further for your complete mailbox. As a single mistake can lead to loss of your complete data.
Frequently Asked Questions
Q1. How do I save emails from Windows Live Mail to hard drive?
Ans. You can easily copy Windows Live Mail emails to external hard drive using the two easy methods explained in this article.
Q 2. Can I backup Windows Live Mail to an external SSD?
Ans. Yes, you can backup Windows Live Mail emails to an external SSD (Solid State Drive) or any other storage drive. Just connect the device to your system and choose it in the path option.
Q3. How do I export all emails from Windows Live Mail?
Ans. The best way to backup your entire Windows Live Mail mailbox to an external drive is by using automated software. It can easily take backup of complete data in 30+ file formats.
Q4. How do I backup my Windows Live Mail emails from a specific time?
Ans. The software offers filter options that allow you to backup only the emails you need.